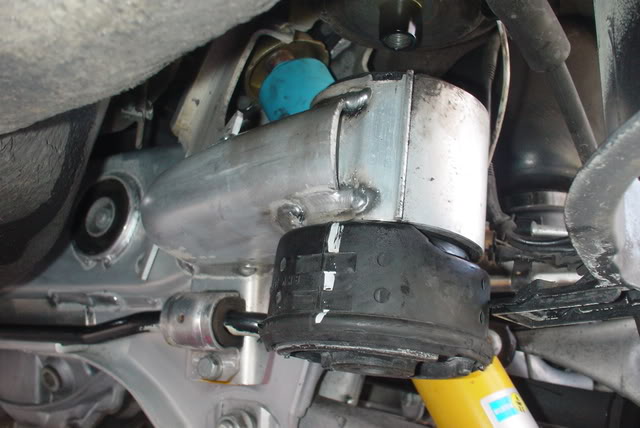
The painted reference marks I made should line up with the end of the arm that is welded to the bushing retaining ring.
Once the new bushing is in-place, replace the extended rod, bottom retaining plate and nuts and repeat the removal and installation process to the other three bushings.
*** Just a note, on the 540it, the rear drivers side subframe bushing mount won’t lower as low as the other mounts due to the exhaust system in the way. There should be just enough room to lever the mount down to slip the top caps in-place. I used a 24mm open end wrench as a lever and got the required clearance with little effort or strain. For Dinan E39’s installation, he had to remove the Dinan exhaust from it’s rear mount to permit the required clearance for his modified exhaust.
———————————————————————–
Part IV: Completing the DIY
———————————————————————–
When all bushings are replaced and all extension rods are in-place, use the floor jack to again raise the suspension subframe back up to the body. Be sure you only raise the rear suspension subframe and not the car off the stands.
*** On the second tour we did, we had to help align the rear subframe assembly back up to meet the body attachment points by jiggling the rear suspension so it would travel up the rods. We also moved the jack pad further back towards the end of the differential case to push the rear of the rear suspension up. Do not position the jack on the seam between the case and the case cover. Expensive damage may occur to the cover on improper positioning.
Once up, replace the extension rods, one by one with the original attachment bolt and lower retaining plate. Be sure to put the lower bushing retaining plates with the rubber pads on the rear bushings.
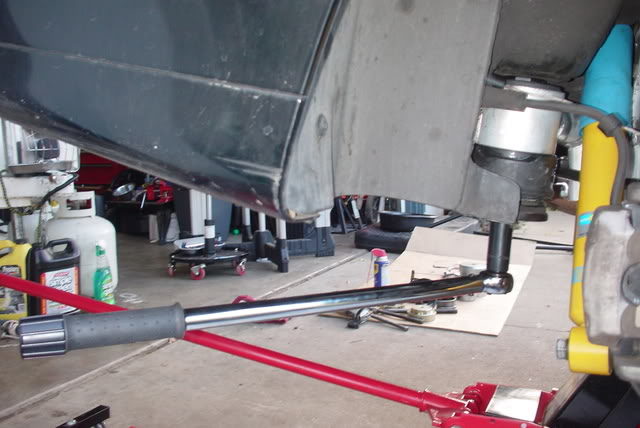
Once all are original attachment bolts are reinstalled, check again to ensure the car is solid on the jack stands before tightening the bolts. Torque the attachment bolts to 120 ft/lbs.
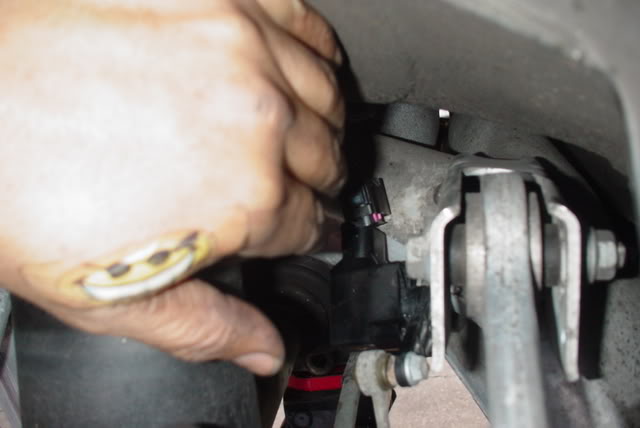
Re-attach the self leveling connections back onto the sensors.


