Article by: Johan
Article applies to: all e32 and e34 models. The procedure may differ when a different heating system is installed.
Problem: Every time I used my wipers they would make a very annoying flapping sound. When I finally decided to replace the wipers I found that I could move the wipers over 3 cm or about 1″ without moving the motor.
Let’s start unbolting parts:
Lets start by removing the wiper arms. When something finally broke on my car I was too excited to remember to take pictures so there are no pictures of the wiper arm removal.
However Dutch740 has already described the removal of the driver’s side arm in “wiper tensioner” and the passenger side is just a matter of undoing a 13mm nut and pulling.
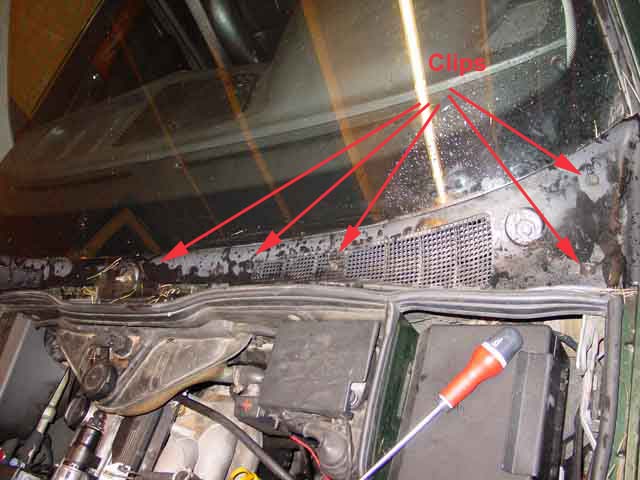
After you have removed the wipers you can start taking off the fascia panel. The panel should be clipped with square clips with a locking pin in the center. On my car these where long gone.
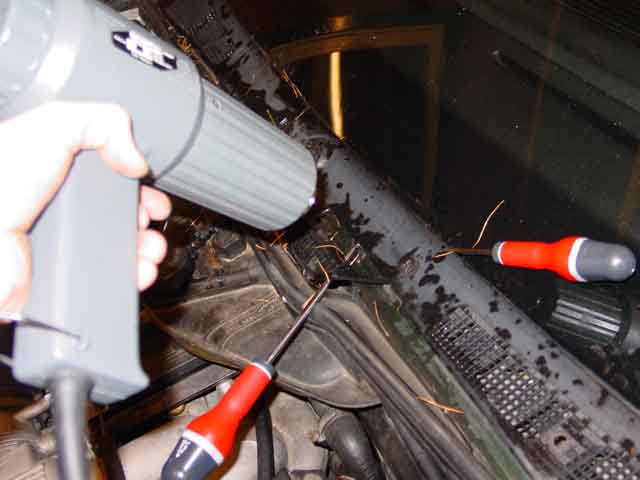
Somehow the panel on my car was glued around the center. I tried to pry the panel off with a couple of screwdrivers. That didn’t quite do the trick so I heated up the glued part.
Then it came off nicely without breaking.
Now remove the coolant tank. There are two plastic 10mm nuts to the left and the right. The overflow hoses where held by tie-wraps on my car.
I was quite happy not to see the annoying BMW hose clamps. When you undo the lower hose expect some coolant to come out.
I used the coolant to clean the garage floor…but you might want to use a container 😉
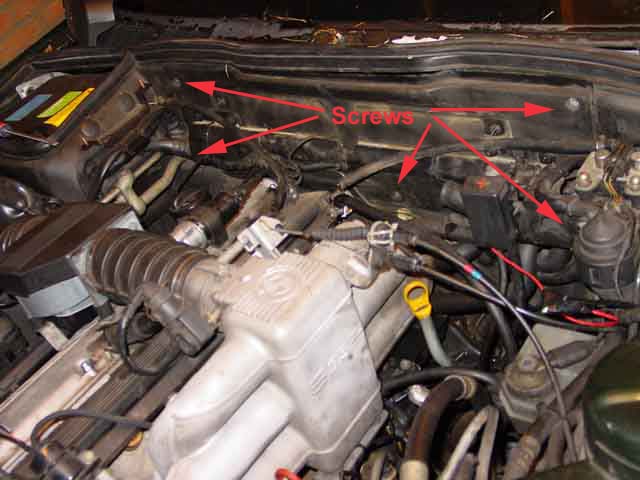
Now remove the 5 screws to hold the bulkhead panel. Removing the plastic cover over the air con hoses and the water valves will give you some more clearance.
Then remove the two plastic nuts on each side of the metal cable guide. After this you should be able to pull the bulkhead panel and the cover of the blower motor housing off.
You can now undo the right hand outside flap control rod. It’s clipped onto the blower housing and it’s inserted into the control rod assembly on the left side.
Of course you first have to pry off the cover of the rod assembly.
After that remove the blower motor access cover. It has a clip on each corner which are removable by hand and a strap in the center.
Now it’s time for the motor to come out. This couldn’t be easier: undo the power wires and un-clip the motor. Now it’s al ready to be removed.
After all this work there is still NO room for the mechanism to come out.
So the entire blower motor housing has to be removed. To my amazement this was also quite easy.
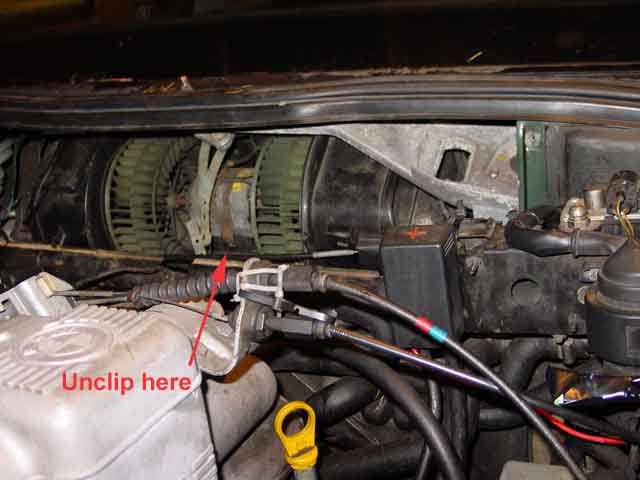
First remove the rod that controls the outside air flaps.
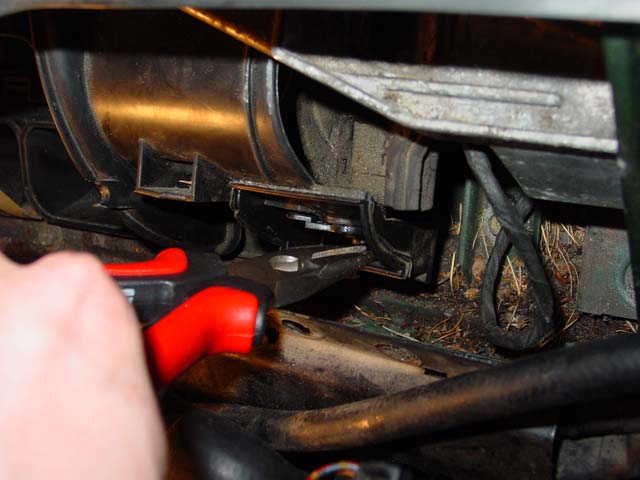
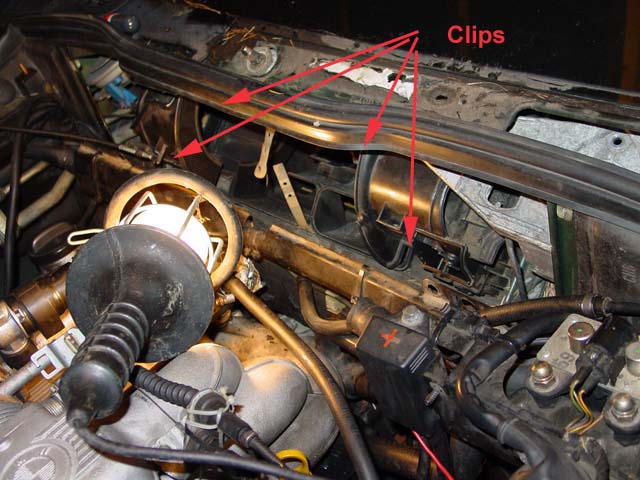
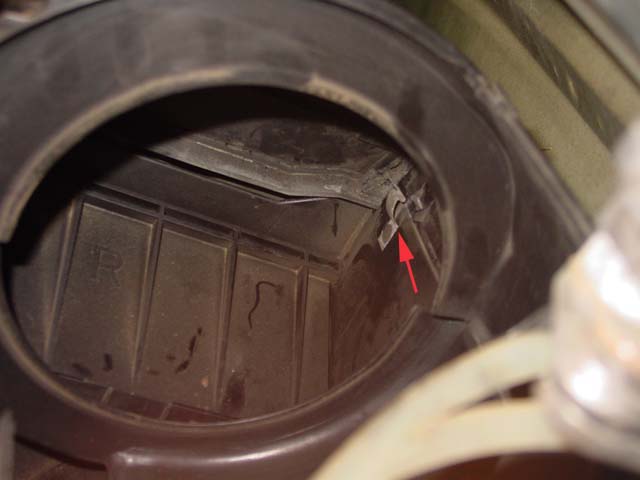
Then undo the four clips that hold the blower housing to the rest of the heater housing:
You have to look hard but they are there!
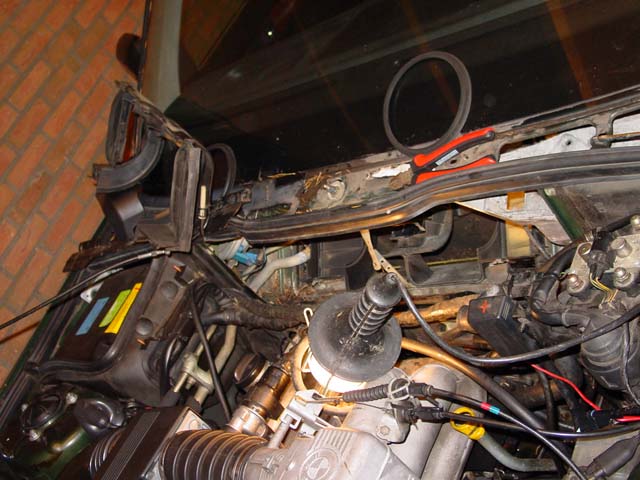
After removing the clips maneuver out the two plastic rings.
Then pull the wiring for the heater system’s outside temperature sensor out of it’s guides so you can get the housing out of the way.
I left the sensor attached to the housing as the plastic seemed to be in a state of decay.
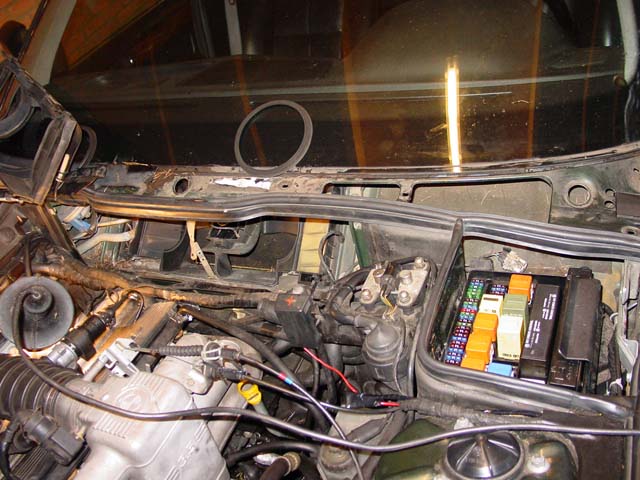
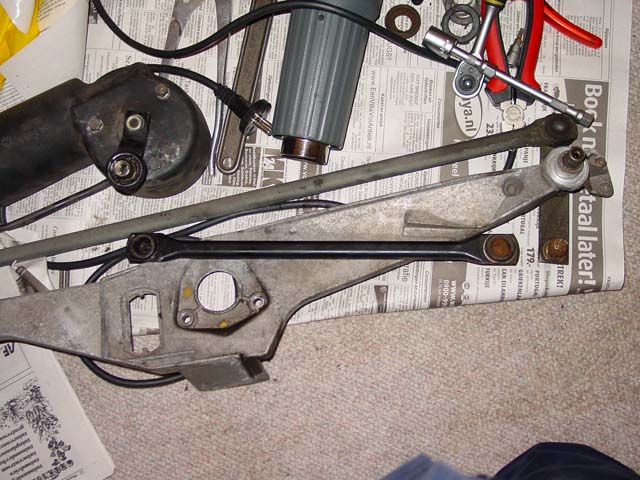
Now with the housing out of the way it’s time to do what was required in the first place: undo the wiper mechanism.
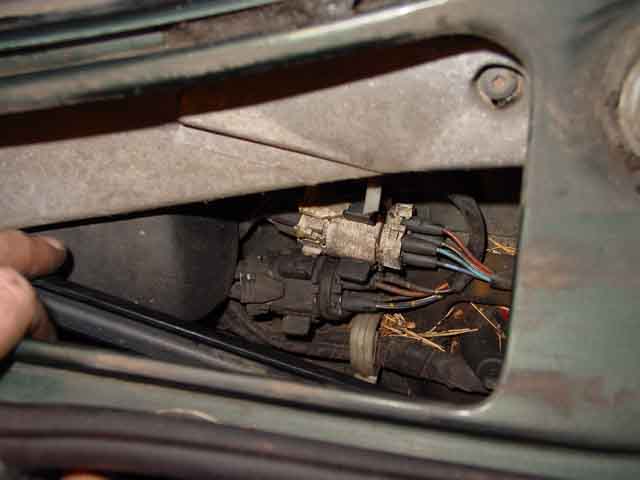
Let’s start by removing the connectors. As always with connectors in my engine bay they almost fell apart in my hand.
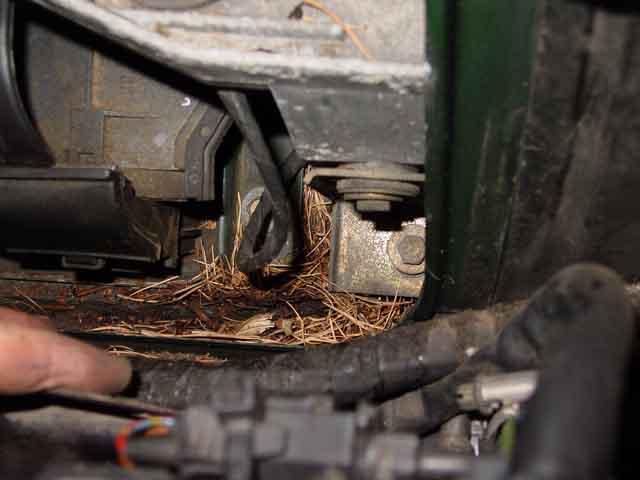
Now remove the bracket on the underside of the mechanism and undo the big nuts around the wiper driveshaft.
Just check out the vegetation I’m growing here. A real nature enthusiast I am 🙂
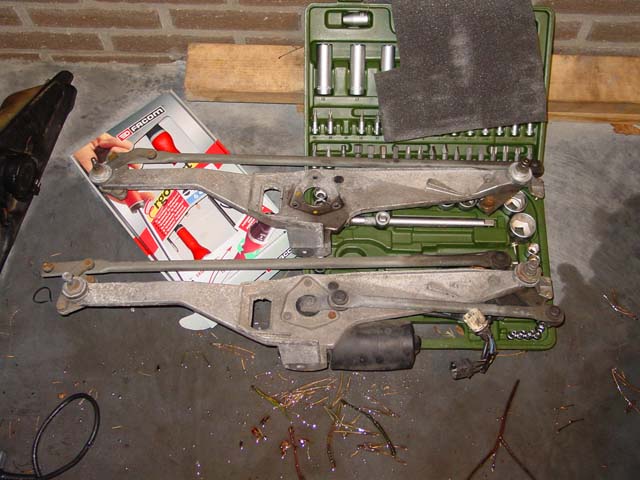
YES the mechanism is finally out!!!
Now you have the mechanism out you will have to transplant the two motors from the mechanism.
There are three bolts on the main wiper mechanism and three torx screws on the pressure motor.
Be careful not letting the pressure adjustment shaft fall out.
The drive rod has two joints packed in a rubber boot with some grease. In my case there was only one joint that still had a rubber boot.
The other one just had rust. I could lift the rod off the joint with one finger so I was quite happy with my decision to replace the entire assembly.
Wiper replacement for cheapskates:
There was just no way I was going to replace my wipers for 60 euro per set which they cost from the dealer.
Car parts stores also wanted a small fortune for a set of Bosch wipers so I have been using the same old wipers that where on there at least since 1999.
With bad wipers you can always use a product like rain-X (no affiliation).
That’s probably what the previous owner must have thought as well since there was a bottle of rain-x left in the car when I bought it.
So where can you get cheap wipers? Well from the dealer! You do have to fidget them in and cut them.
But hey it’s 40 euro you can spend on food for your family. That should be a welcome change for them.
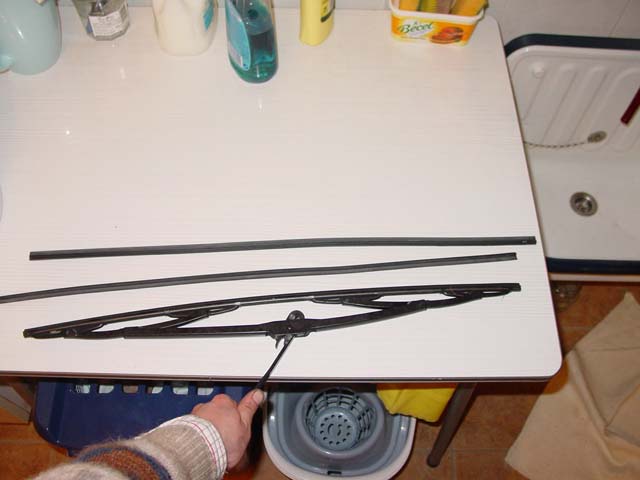
As you can see the inserts are a bit longer then the wipers.
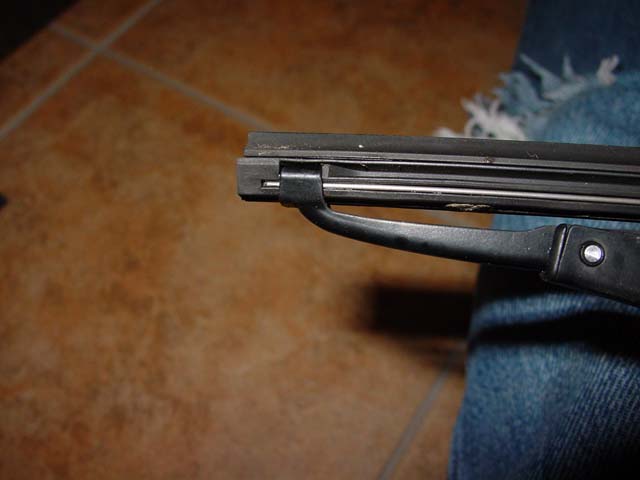
First remove the old blades. On one side they are locked in by a notch in the rubber. I pried out the rubber with two screwdrivers.
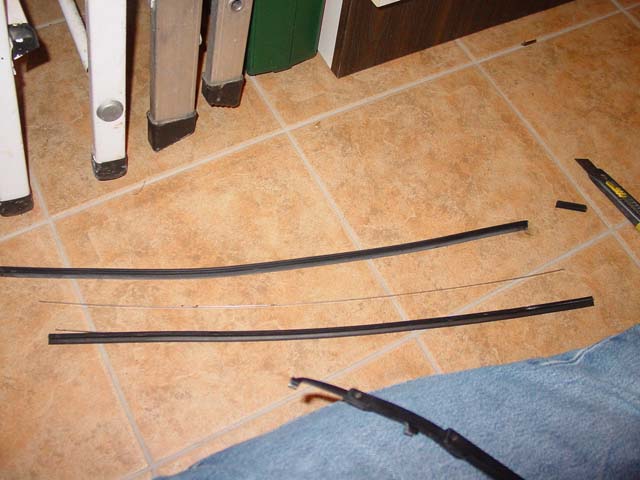
Cut the new wiper insert to the same size as the one that was on your car.
After that take the two metal strips from your old wiper and reinsert them into the new rubber.
The metal also has a small notch to lock them into place on the rubber.
The rubber should now slide into place on the metal wiper frame.
I used two screws to convince the notch it it should be locked in place.
One more tip: if you replace the second insert and it is the same size as the one you are replacing you might be using the old insert from the other wiper. Trust me on this 😉
Total amount of parts and cost:
| BMW Part Number | Description | Price | QTY |
| 61618217711 | Wiper Blade Insert | $14.91 | 2 |
| 61611378780 | Wiper linkage | $494.14 | 1 |
As you may have noticed I didn’t get a new mechanism as I still had one from the 735iL I stripped for parts last year.
Total amount of time:
It took me all afternoon. But then I had to figure out how to remove the blower housing by myself. You should be able to do it in 3 to 4 hours.
Skills needed/difficulty level:
Basically it’s just undoing screws, nuts, bolts and clips. But there sure are a lot of them. This is also one of those moments I’m happy to own a straight six engine.

