Article by: Ivo
Article applies to: all e32 and e34 models.
In recent years I got a lot of questions about installing the original BMW key-less entry. Because the E34 5-series is quite similar to the E32 7-series, this document is also very useful to the 7-series owners.
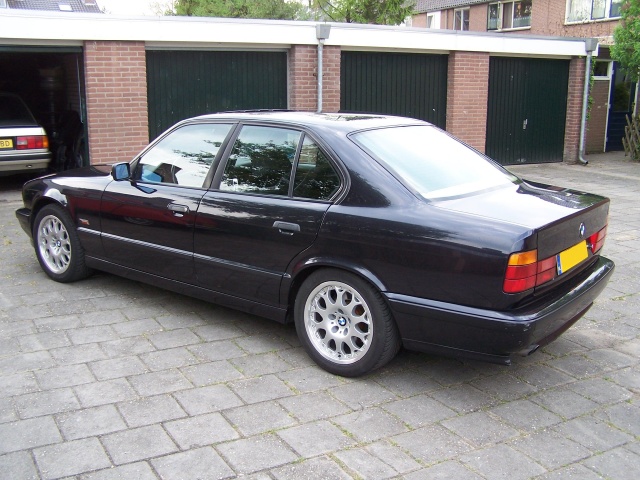
This example shows an E34 525i built 11/1993, it therefore has the key with the transmitter installed within the key.
The early cars, so until (the end of) 1991, had a different key and system. Although both systems make use of infrared, they aren’t compatible.
In most cars all the wiring is installed in the factory, so you only have to buy the specific parts, e.g. key and the mirror with the I/R receiver.
When you want to buy the key at your local BMW dealership, you’ve to identify yourself and got the paperwork of the car with you.
Otherwise they can’t order the key in Munich. Mine key arrived in days. The key is ready to use, and made specially for the car. So it works with all the locks.
So let’s start!
Let’s first make a short summary of what you need:
- The original BMW key;
- The mirror with the infrared receiver;
- Some tools, I used only a Torx bit and Philips screwdriver;
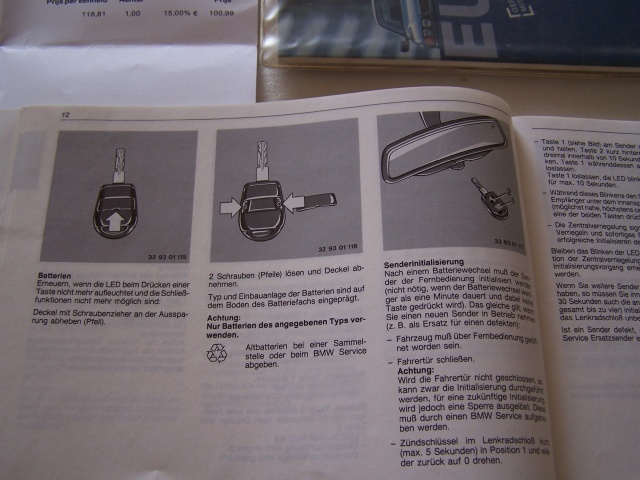
- Manual where you can find the initialization procedure;
The car:
The key (the new key on the left and the old key on the right):
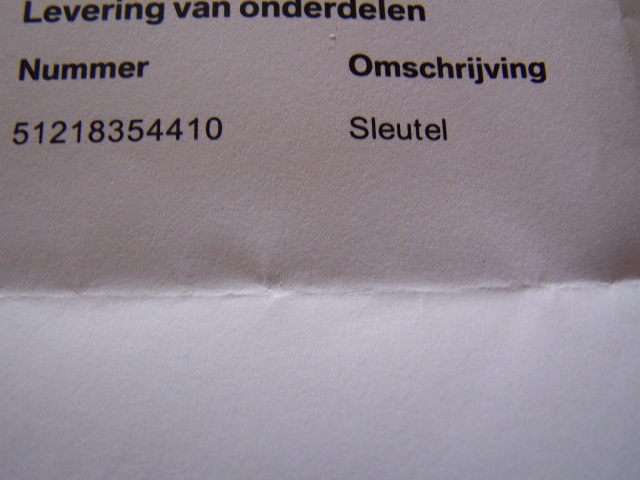
Part number (for E34):
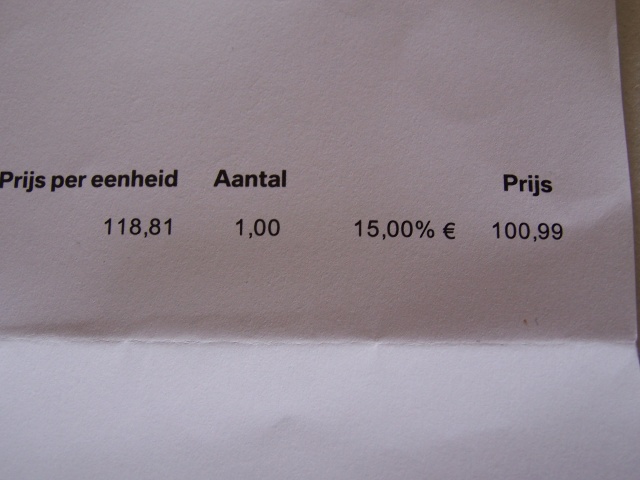
Price of the key (without VAT), quite heavy as you can see!:
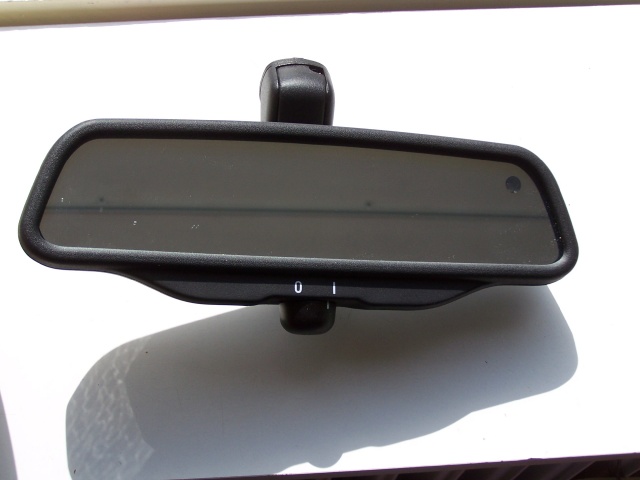
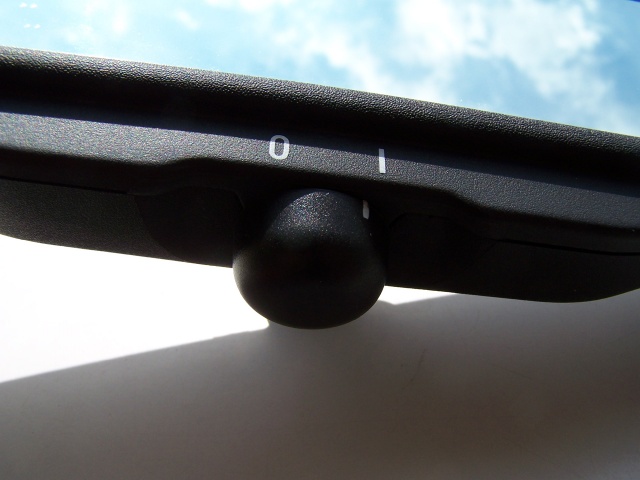
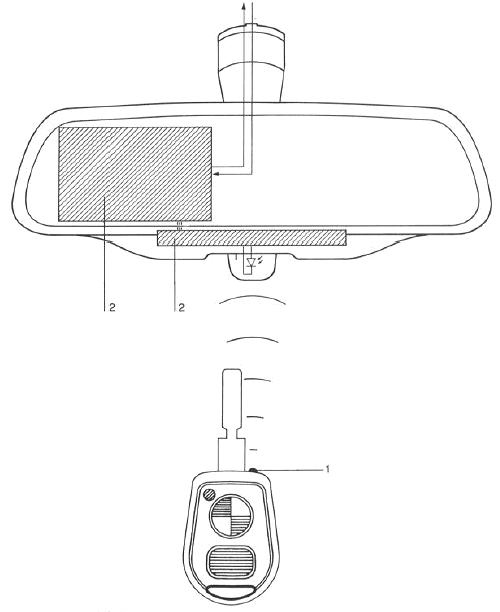
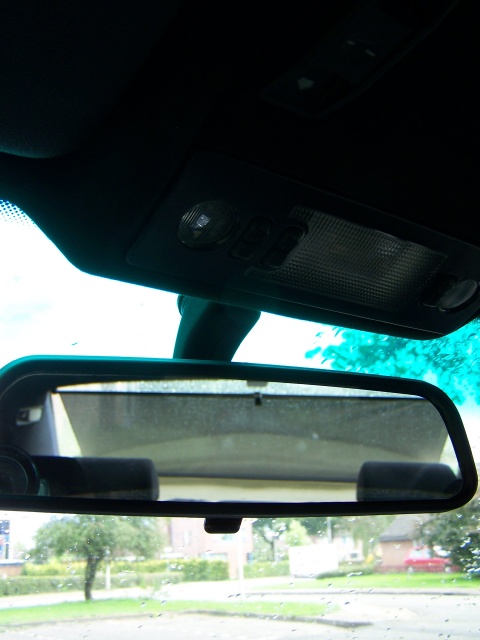
The mirror (this is an auto dipping mirror). But make sure you get the one with the receiver, the I/R receiver is the “round thing” underneath the mirror.
I bought this on www.eBay.de for 30 Euros. The seller obviously didn’t know the right price, luckily for me!
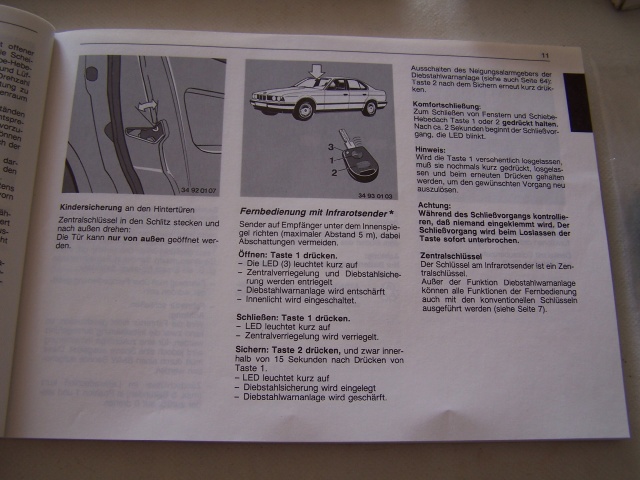
Manual:
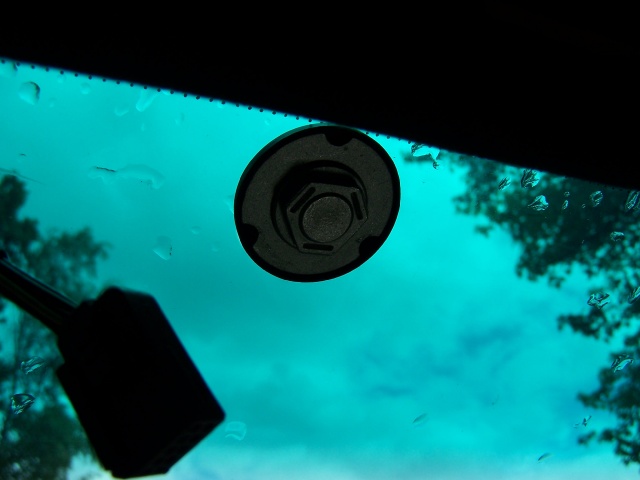
Remove the old-mirror. Gently turn away, you’ve to turn it a little bit to the left or right.
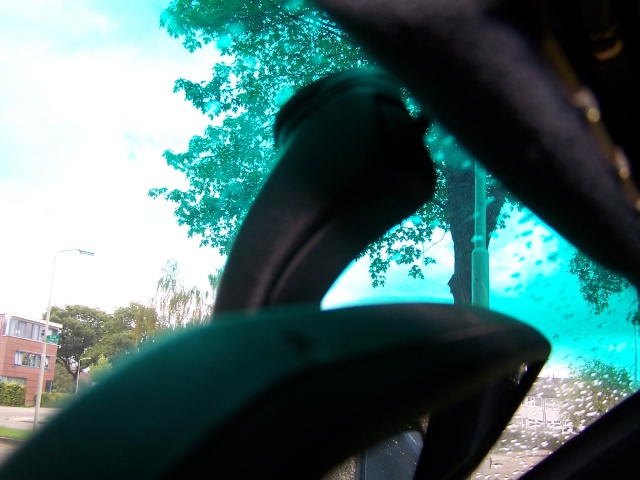
Mirror removed. Here you can see the mounting with it’s angles.
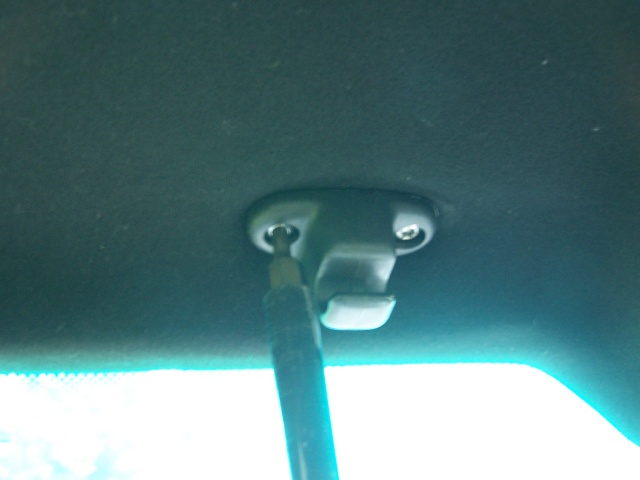
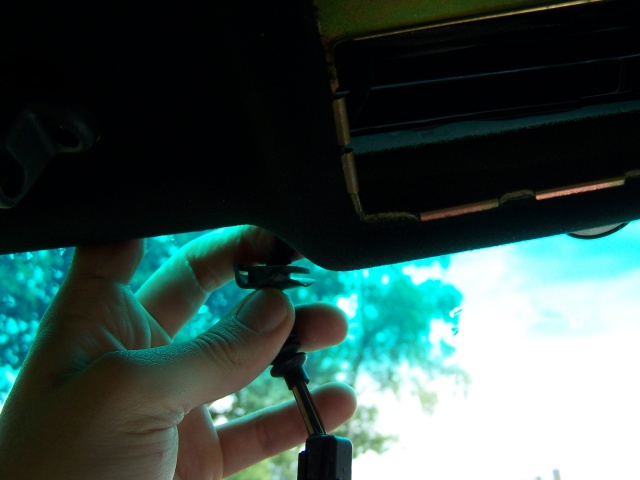
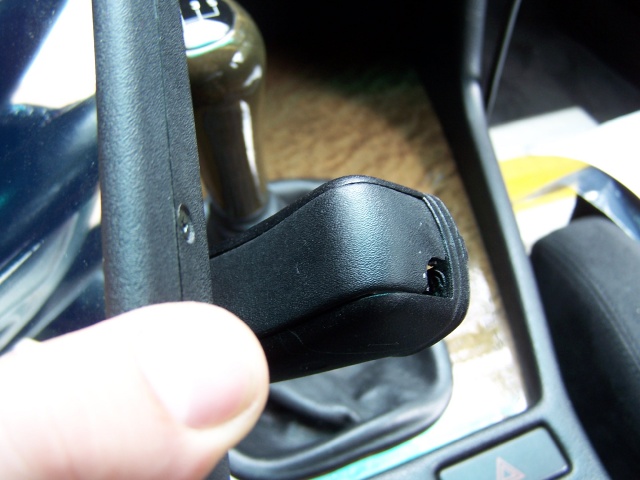
Remove the sun visors. Just take it to left (and right) side away. Then remove the holding clips.
Be careful not to damage the wiring when you’ve the make-up lights, the wiring is attached to these things.
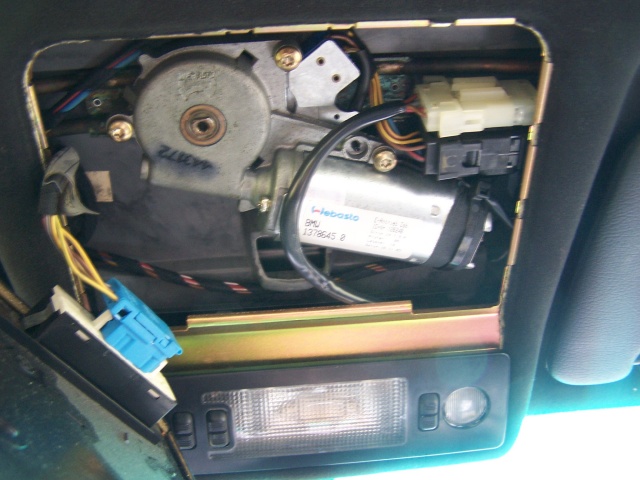
When you have a car with sunroof, like mine, remove the cover with the sunroof switch.
Remove the switch.
Remove the interior lights.
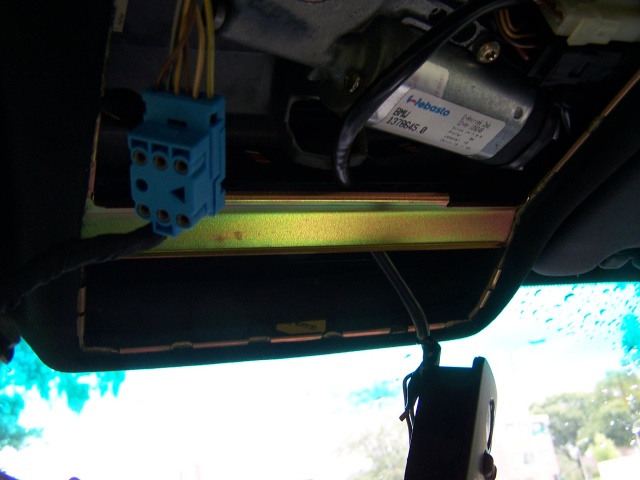
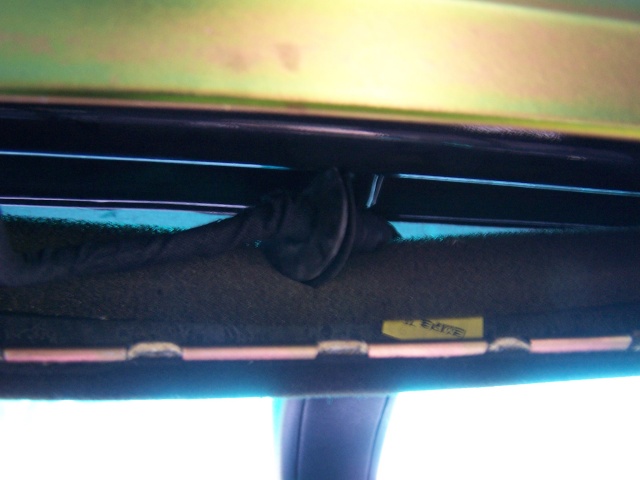
Look for the connector underneath the headliner, it comes from the left side.
When your car has also installed the DWA (or factory-alarm) the connector has 10 pins, on cars without DWA is has 9 pins/cables.
Carefully take the headliner somewhat down.
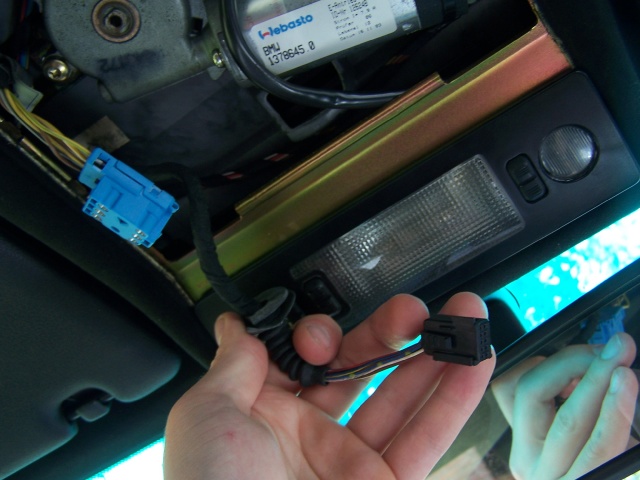
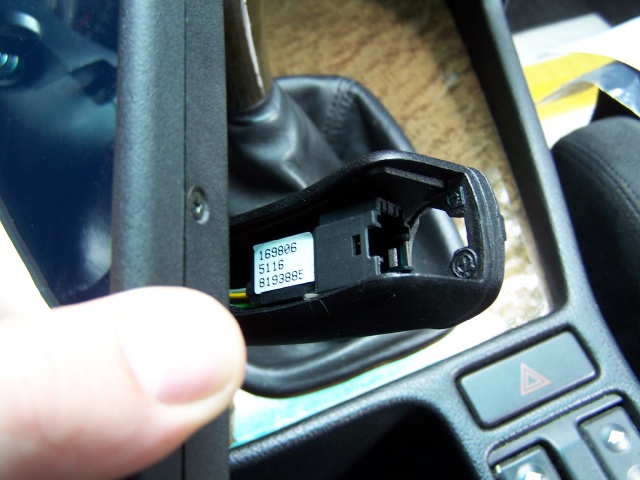
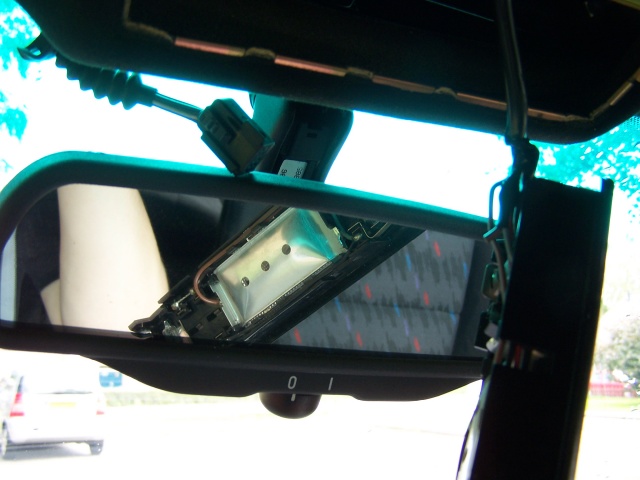
Here you see the opposite connector on the mirror with the cover on, and the next with the cover removed.
Take the connector and pull it a bit towards the spot where the mirror has to come.
Position it before before the headliner where it connects to the mirror.
Install the mirror. Installing is the opposite of removal 😉 do not kill your window by pressing to hard.
Put the connector on the mirror and next comes the cover.
Now put all the stuff back where it belongs and take a short break..
Read the manual and follow the steps for initialization of the key.
Make sure the door, roof, and windows are all completely closed!
It might take a while before you get it working, after 10 times or so I got fed up! Giving it another try after a week, and it worked immediately.
When it still doesn’t work, there’s probably a lock on the mirror. The so-called “Initialization Lock”. Only the dealer can remove this with his DIS-computer.
There they have to follow the coming steps, also described in TIS 66 01 97.
1. Select “Diagnostics”
2. Select vehicle (e.g. “5’E34”) and “Diagnosis”
3. Select “12 Radio/IR System”
4. Select “5 Special Functions”
5. Select “2 Cancel Initialization Lock”
Finally it is complete, enjoy your work!


