Article by: Roland
Article applies to: all E24, E28, E32 and E34 models (others may be applicable).
For my installation I used:
- A 5,8″ monitor from Autosonik. Autosonik uses the same TFT-panel as Alpine but in a slightly different housing making it less expensive as the original Alpine
- A sharp knife
- A few screwdrivers
- Double faced tape or glue
- A ballpoint pen to mark the cuts in the foam
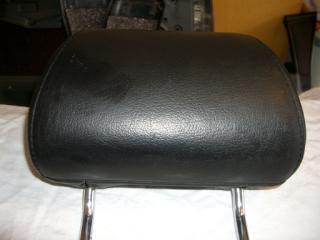
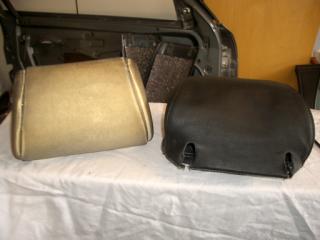
BEFORE:
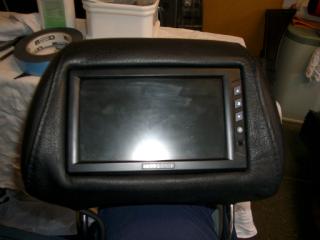
AFTER:
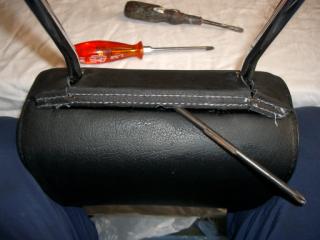
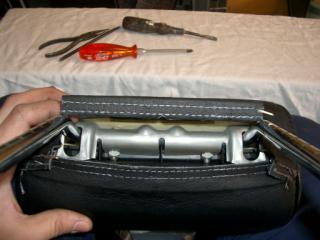
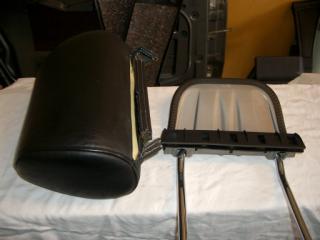
Remove the leather upholstery of the headrest. I opened up the underside of the headrest by prying out / un-clipping the plastic ends.
Once the underside of the headrest is open, you can easily slide the metal support frame out the headrest.
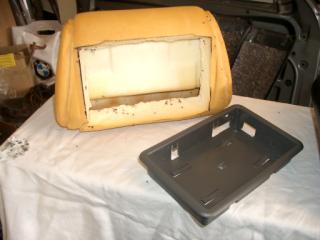
The next step is to remove the yellow/white foam insert from the leather headrest upholstery.
You can do this by squeezing the foam together.
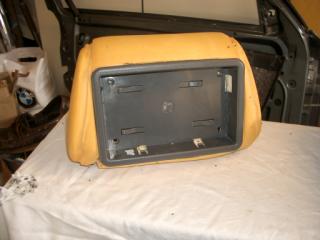
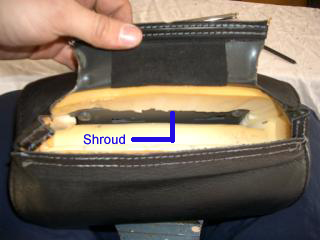
Now it is time to unpack the monitor and shroud. I used the shroud to mark the cut lines on the foam insert.
Once the shape of the monitor shroud is transferred onto the foam you can cut that part out of the foam.
It’s time to put things back together.
You have to get foam and shroud back into the leather headrest upholstery. The is a very simple trick.
First you put the foam back inside the leather upholstery by squeezing it together.
Secondly you have to insert the shroud between the leather and the foam (again this step is managed by squeezing the foam).
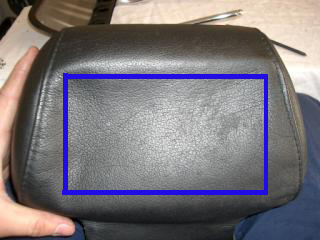
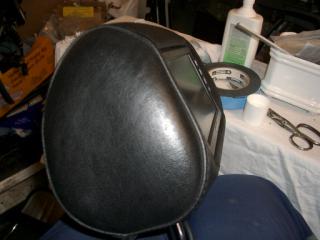
The result is a leather headrest with a shroud inside of it. On the second picture you can see the shroud under the leather (blue lines).
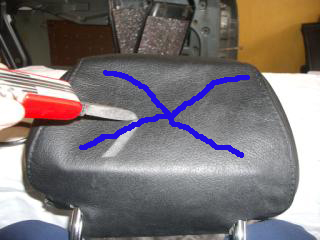
Take a sharp knife and cut an X in the leather headrest (stay inside the boundaries of the shroud or you will ruin your leather headrest)
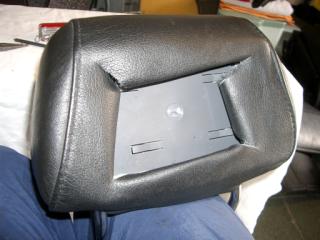
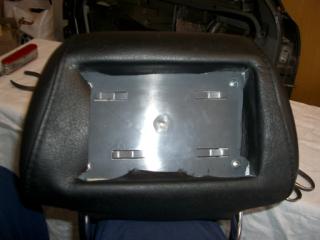
Once the leather is trimmed to the correct size. I glued the small leather flaps to the plastic monitor shroud.
Notice that at this point the metal plate is back in place.
Take a small drill bit and drill out 4 holes that are already marked in the headrest shroud.
Drill through the metal plate inside the headrest.
Use 4 tiny screws and screw the plastic shroud to the metal plate inside the headrest.
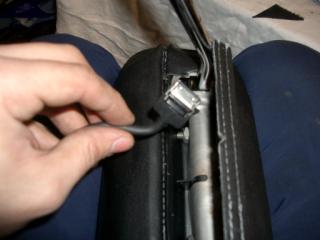
Route the monitor signal cable through the opening in the bottom of the headrest.
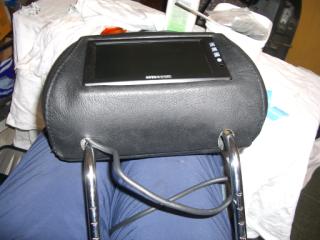
Final step is to put the monitor in the shroud after the signal cable is connected.
The only thing still to do is routing the cable through the seat back.
Leave some slack in the signal cable between the headrest and the seat so that you are still able to adjust the height of the headrest.

