Article by: Sean
Article applies to: all e32 and e34 models.
Problem : When I hit the brakes I felt some wobbling in the pedal. This can have numerous causes, like warped rotors, shot suspension bushings…you name it.
My rotors must be replaced anyway, because the minimal thickness limit was reached. So bad luck for me and another story to tell for you.
Minimal thickness? Yes. The front rotors have a minimum limit of 26.4mm (1.039″).
This is cast into the rotor, but can hardly be seen after years of accumulated rust and crud.
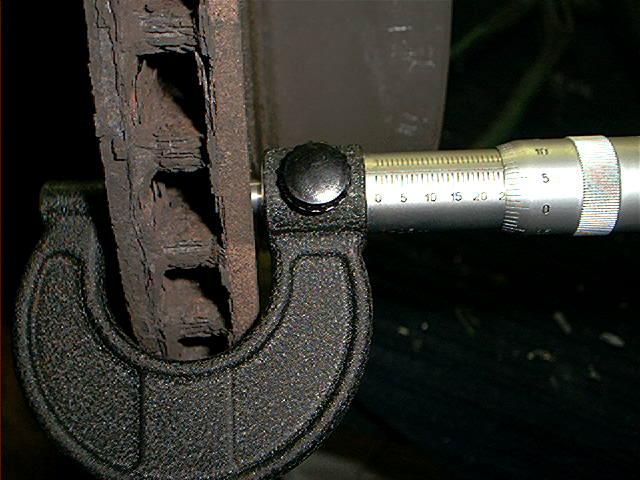
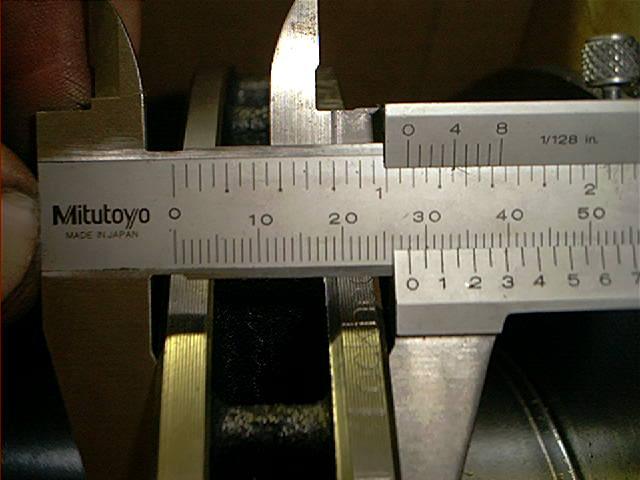
Background: The following picture shows the measuring of the old rotor. To do this properly you’ll need a jaw size micrometer tool like this because of the outer ridge.
It shows 25.7mm:
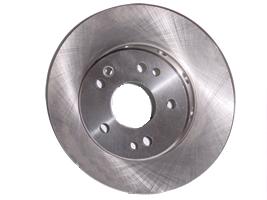
And this is the new one:
Let’s start unbolting and removing parts:
Raise car, remove wheels….we’ve been there before my friends.
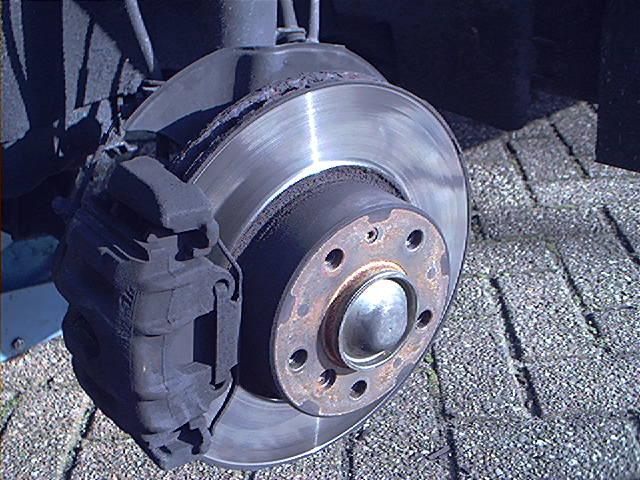
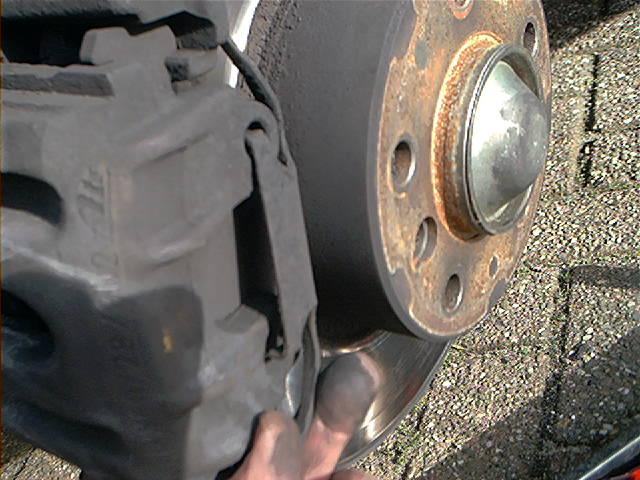
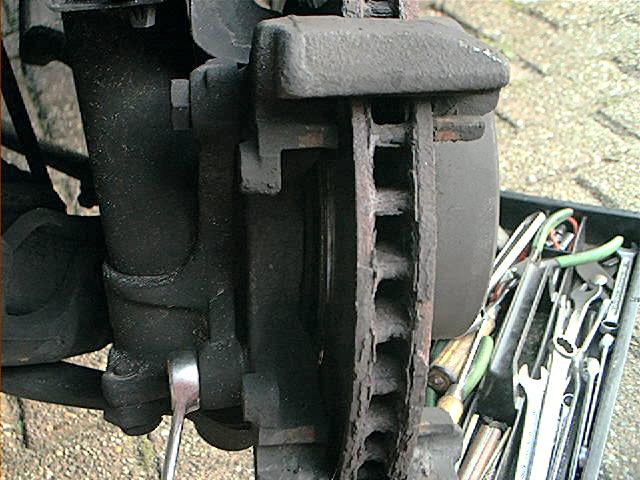
Showing my worn rotor in a lovely winter sun on a very cold pavement (seems I am getting poetic as the years go passing by):
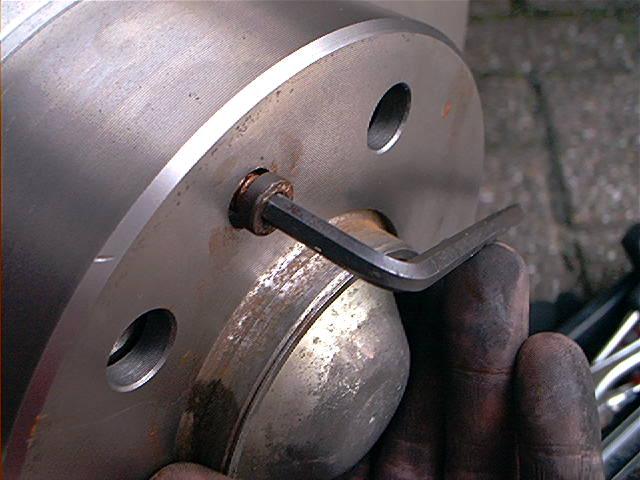
Normally, the first thing completely ruining my good mood is the rotor mounting screw.
This is usually a completely booger-ed up and stripped hex key screw caused by unskilled mechanics who lack the knowledge to perform their function in an effective manner, and therefore a real pain to get loose.
But today the gods of wrenching were merciful and after some whacking onto the mounting surface I was able to remove it.
If you aren’t able to get it loose, bite the bullet and drill the head of the screw.
Push brake pads back, just enough to clear the outer ridge of the rotor:
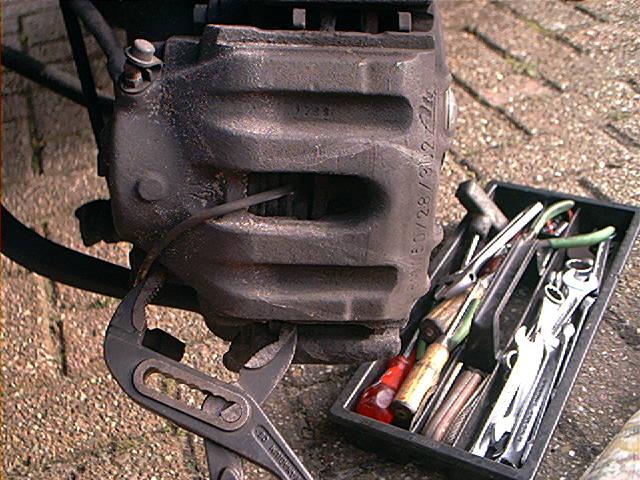
Next up: Remove the anti-rattle spring:
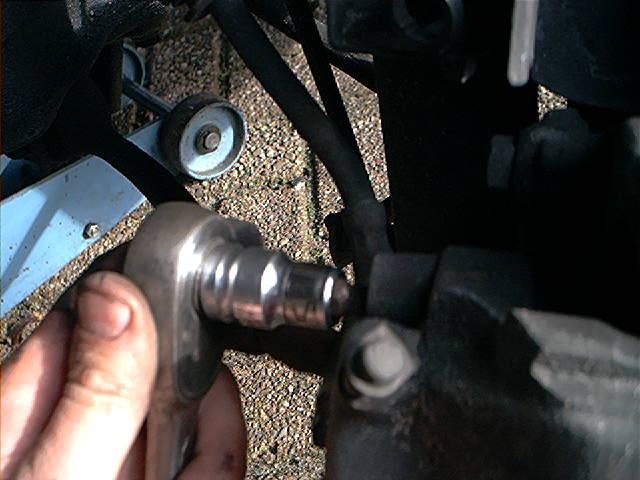
Unbolt brake caliper, unplug brake wear sensor wire (not going into details about this, read more in ‘brake pads‘ and ‘brake caliper rebuild‘:
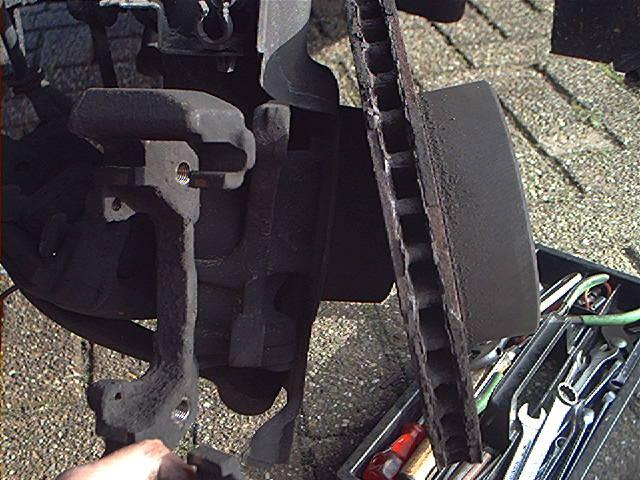
Now comes the big question: can you remove and reinstall the disk rotor with the remaining brake carrier installed?
Answer: it depends. I was able to slide the old rotor out but I couldn’t slide the new one in. So I removed also the brake carrier.
But other people reported they did the trick without removing the carrier. You can draw your own conclusion: new disks from several brands differ from each other, or I am just a very lousy mechanic.
A warning: these are stubborn bolts – and this is a very easy place to smack your hands on stuff if the wrench slips.
So . . . be sure to wear gloves and be careful (don’t ask me how I know this).
Removing the carrier will allow you to remove the rotor. Sometimes the rotor is “seized” to the hub. Don’t be afraid to use force to get it off.
I have often used a “dead blow” hammer to knock them off. Just turn the rotor and give it a “whack”. Keep turning it until it comes off.
The rear rotors are much worse than the front – mostly because they are seldom replaced.
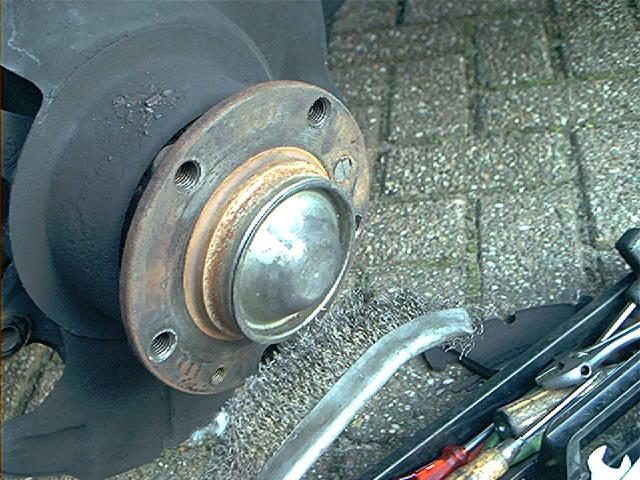
Carefully clean the mounting surface of the hub flange:
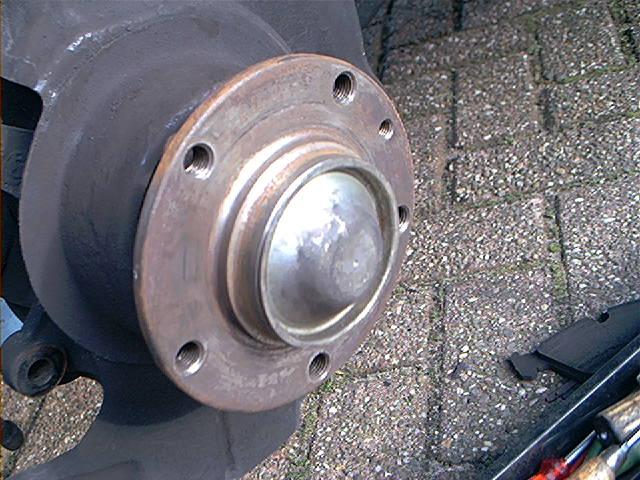
I applied a very thin coating of copper grease onto the surface, to prevent future rusting:
The E32 is very hard on rotors (some suggested they are a bit undersized for such a heavy beast) so choose a known brand.
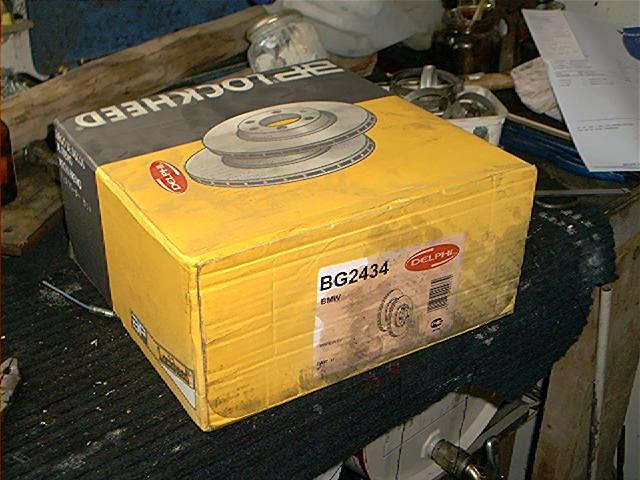
I got new rotors from Delphi (Lockheed), because they are reasonably priced. I have also used Brembo and Zimmerman.
I guess every decent brand will do:
BUT: the E32 community is endlessly discussing rotors and the overall opinion is: don’t buy ATE rotors. A couple of comments from the board:
Hallen: ATE rotors (for E32 anyway) are too thin in general. They are prone to warping. Many times, they are too thin to resurface.
Phil: the prevailing opinion is not to use ATE rotors
Eric: The ATE rotors seem to be cut too thin to start with and are prone to warping
Jim Derrig: From my experience, the life of front rotors can be as short as 12,000 miles with these cars. The oem supplier, ATE, has been giving us rotors machined to within only a few thousandths of the minimum thickness (I’ve measured two “new” sets with a dial caliper and found this condition both times). Other suppliers, such as Brembo and Balo, are giving us a better product. Avoid ATE rotors as several of us have experienced premature warping with ATE’s.
Due to frustration with warped ATE rotors, I put a dial caliper on a “new” set of ATE’s. To my surprise, they had been machined to within 8 thousandths of MINIMUM thickness (i.e., over 50% of the difference between min and max)! I almost think they’re taking used German rotors, turning them, and sending them to those “stupid Americans who drive so slow anyway.” Others on this board have expressed similar frustration with ATE rotors being too thin and showing limited life span. I recently bought a set of Brembos and they were at maximum thickness. I have no personal experience with Balo but others have posted that they appear more solid than the ATE’s.
MNewGuy: “Don’t use the ATE rotors which are considered OEM. They are poor quality.”
Others reported increased brake shimmy when installing ATE’s. Things you don’t want. I am not sure that these problems are only limited to ATE rotors delivered to the US, so it’s better to be safe than sorry.
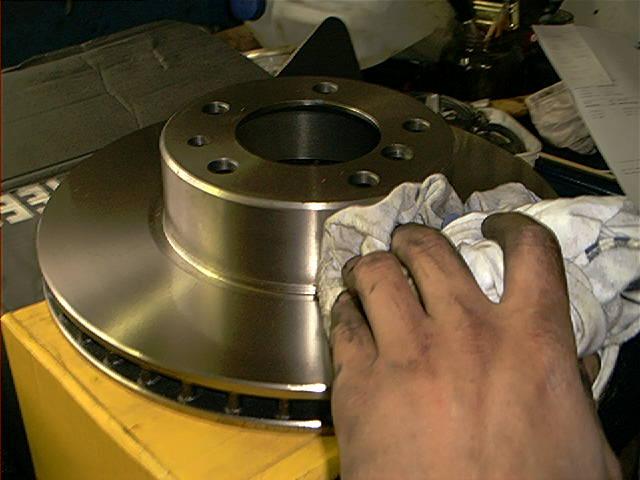
New rotors are coated with an oily substance to prevent rust when stored. This coating must be removed prior to installing. Clean the surface with solvent or degreaser:
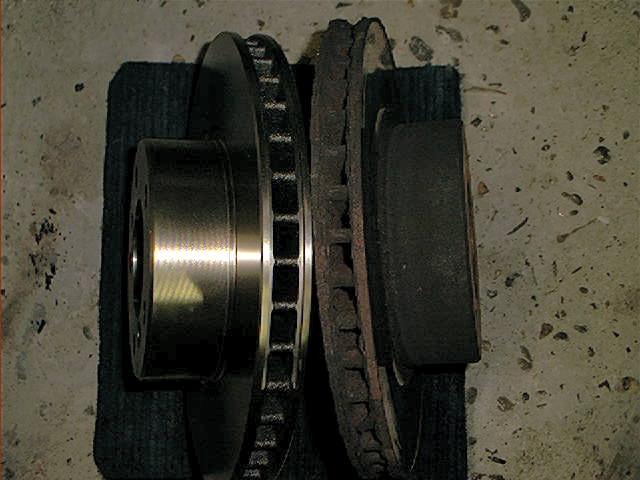
Old vs. new:
Reinstalling is pretty straightforward. Don’t forget to lubricate the rotor mounting screw with some copper paste and don’t grunt when tightening:
One side done, one to go. I leave it up to you to decide to replace the brake pads. Some suggested they always have to be replaced when replacing rotors, but I don’t agree. If your pads are looking fine, reinstall them.
Do mind it takes a couple of km/miles before the brake pads are seated to the new rotor surface, so brake power can be a bit low.
Brake gently and prevent hard braking until they are fully seated.
Total amount of time : Between breakfast and the first coffee break.
Skills needed/difficulty level : Basic maintenance.
Satisfactory level after the job done : I was never impressed by E32 braking power and I never will.

