Article by: Johan
Article applies: to all e32 models
Problem: A whole group of buttons aren’t lighting up as they should.
Fixing the illumination:
The section “Climate control illumination” already shows how to remove and disassemble the control panel. So I won’t repeat those steps here.
The LEDs for the buttons are grouped in series of three.
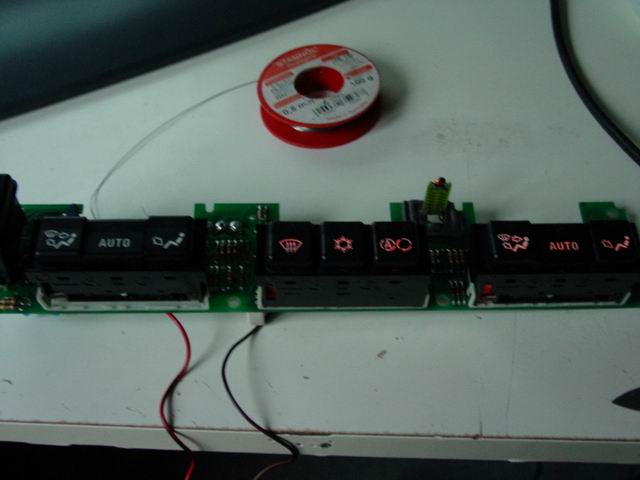
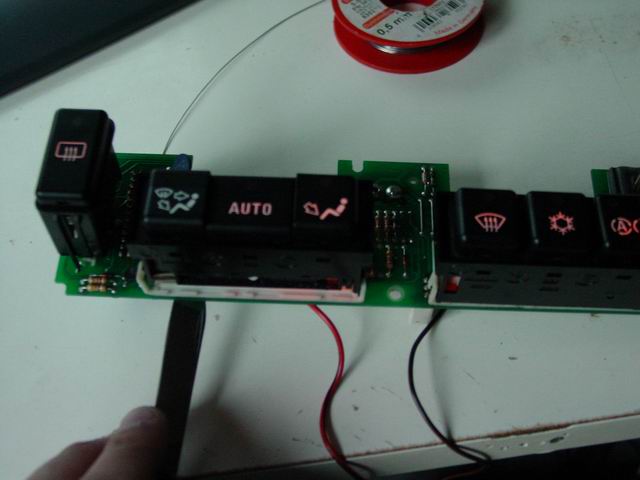
If one breaks all three will remain dead. To find out which one was broken I powered the PCBA by soldering some wires to the GND of the bulb and the lights on signal on the blue plug of the panel.
This lit 2/3 of the panel up. If you don’t have a power supply in your house you should be able to power the panel up in the car by reconnecting the blue plug.
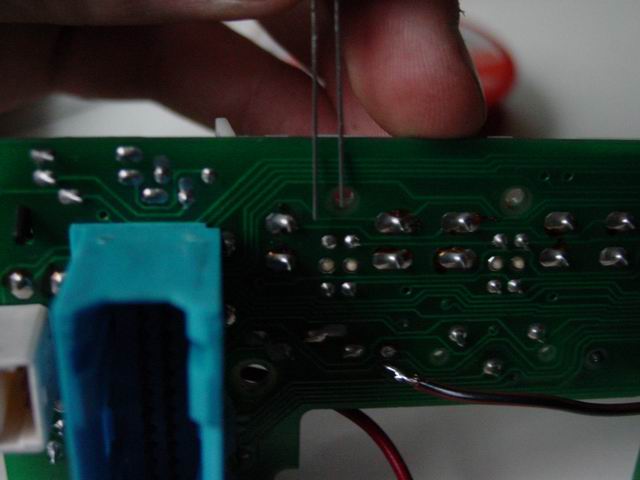
To find the defective one I shorted the terminals of the LED on the back one by one to see which one was broken.
After shorting the first LED the other two LEDs lit up like a Christmas tree. Easy enough!
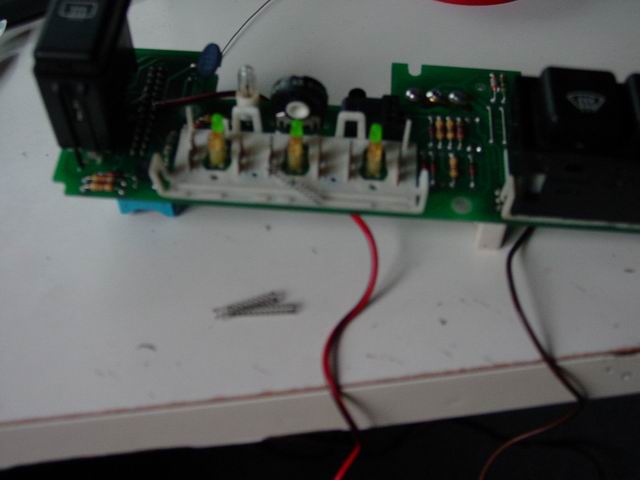
As this is a newer panel then the one that was installed in my 735i the buttons are clipped to the PCBA.
So I I first had to remove the buttons to I could access the LED.
This is done by carefully un-clipping the plastic clips on the four corners. And by careful I mean careful.
The plastic in the clips won’t be as flexible as it was 15 years ago when it was assembled.
Be sure to catch the springs while raising the buttons. In my case the came flying out before the LEDs where exposed.
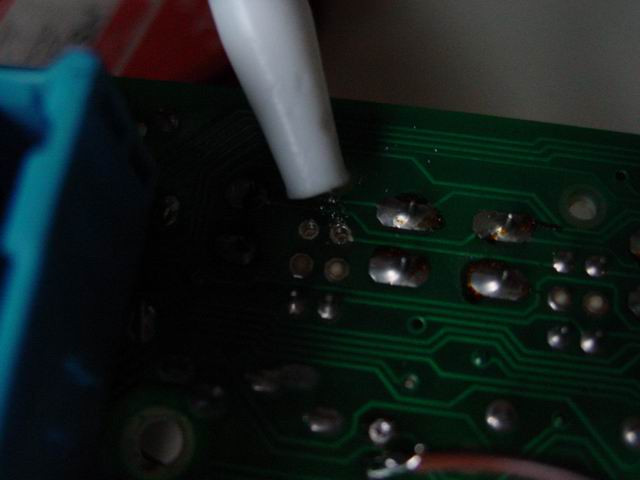
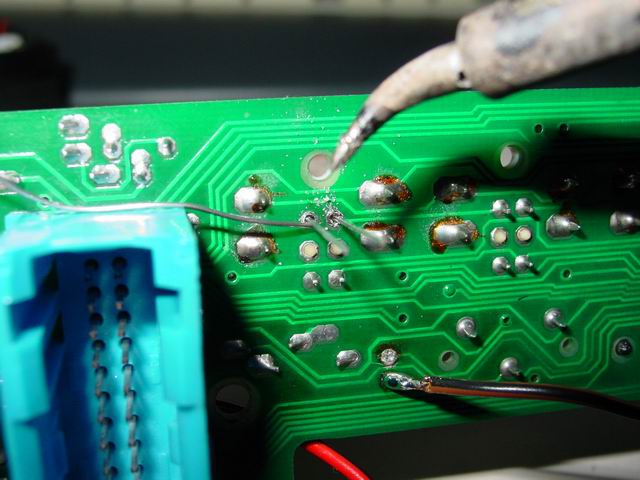
I desoldered the LED with my tin sucker. Personally I like using de-soldering braid better, but since I was out the tin sucker had to do.
As LED are diodes the orientation is very important. So make sure the anode (long leg of the LED) is on the side of the blue connector.
Time to solder the new LED:
And try it out to see how a fully lit panel should look:
Total amount of parts and cost: LEDs are cheap so the repair was practically free! I do like those prices!
Total amount of time: Nice job to do on your lunch break.

