Article by:Sean
Problem: Of course you are preventing brake problems. You are changing your brake fluid every 2 years, and checking the dust covers of the pistons on a regular basis. I don’t, so I ended up with some problems. The last couple of months I wasn’t satisfied with the braking power. I had the feeling I had to push the brake pedal a bit to strong to stop the car quickly enough. It was like only the front brakes where working, but almost no braking power from the rear. After a long and fast travel across the European highways, I inspected the rear brake rotors visually through the spokes of the wheels. I expected a nice, shiny surface but it was still somewhat rusty. In other words, the rear brake calipers weren’t doing their job very well. Time for a rebuild.
Applies to: all e32 and e34 models.
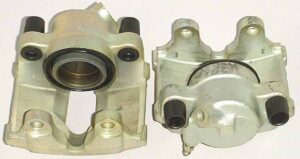
Background: These are pretty simple, straight-forward single piston brake calipers. You have 4 of them. Where Mercedes-Benz is using double pistons per brake caliper for their S-series (W126), BMW used a single piston and it does an adequate job especially if you have a small 7 (6 cylinder). The big 7 (12 cylinder) has simply to much weight for these calipers…..we’re talking about 1900 kilogram (4180 Lbs) of German steel…..as an ’88 750 owner, I was never impressed with the braking power of my car equipped with these single piston calipers. Fortunately, BMW got the same impression and changed the 750 front calipers to double piston calipers starting from model year 1991-on, but those calipers aren’t mentioned in this article.
The procedure shows the rebuild of the rear calipers, but the front calipers rebuilt process is exactly the same. Rebuilding a brake caliper doesn’t mean stuff like machining or honing parts. It’s simply a matter of thoroughly cleaning parts and replacing inner O-ring and dust cover. Therefore, it’s not a big deal.
Looking at the photos, this seems like a pretty extensive procedure. It isn’t, and maybe for some technically experienced folks this procedure is explained too comprehensively, but brakes are just very important.
Let’s start unbolting parts:
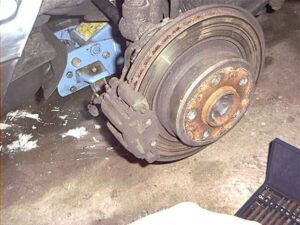
Jack up the car and remove the wheel:
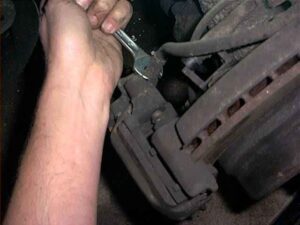
Detach the brake pad wear sensor wire, remove the caliper spring clip and loosen the brake hose from the caliper just a little bit (1/8 turn) with a 14mm wrench, this will make removal easier:
If the rotor has an outer ridge (and it has, believe me), it sometimes can be difficult to remove the caliper.
With large water pump pliers you can press the piston and brake pad a bit back to make removal later on easier.
Pry the two plastic black covers from the caliper guide bolts (on the back side of the caliper) out.
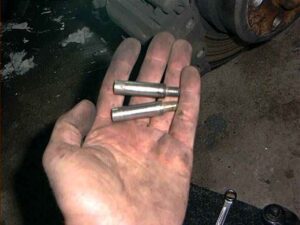
Remove both caliper guide bolts with a 7mm hex key or socket:
Pull the caliper off the rotor. Don’t let it hang loose, support the brake caliper. At this moment you must take a decision.
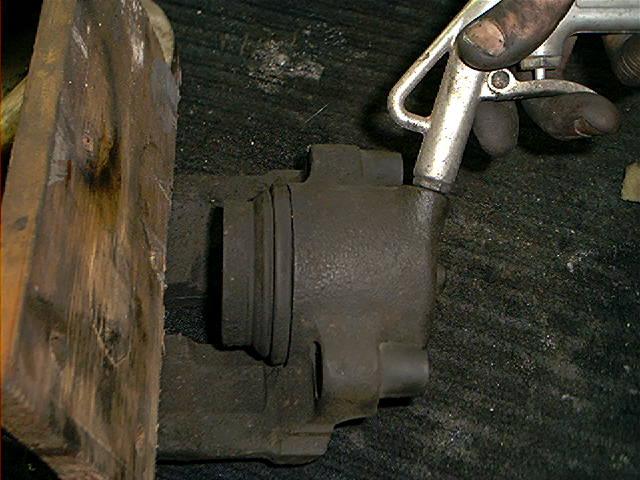
If you use compressed air to remove the piston you can remove the entire caliper right now by rotating the caliper as you loosen the brake line.
If you don’t have a compressor, place a bucket under the caliper (or something like that to catch the lost brake fluid), and depress the brake pedal a few times.
The piston should pop out. If you use compressed air, be careful using it, as the piston will be forced out with some serious pressure.
Place a piece of wood between the piston and the inner flange of the caliper, or use a rag. DON’T USE YOUR FINGERS! (ask me how I know).
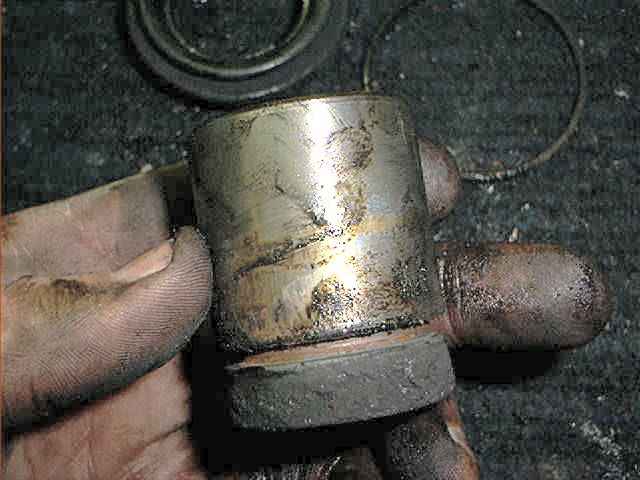
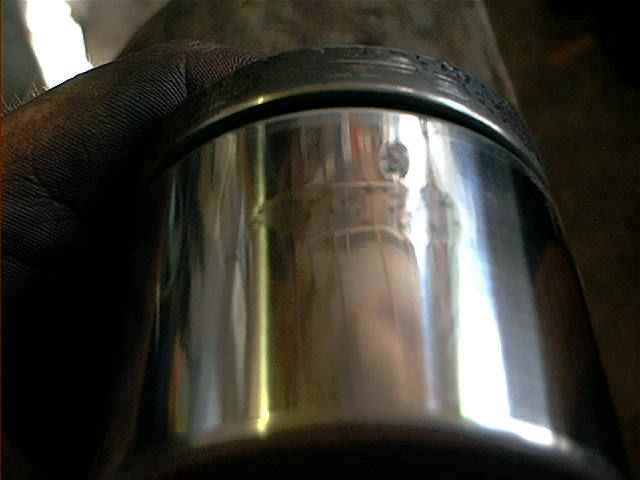
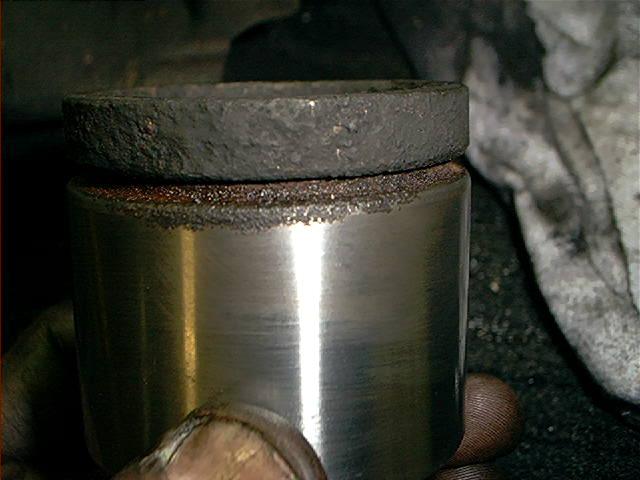
Next, remove the circlip (if applicable) and dust cover. You wouldn’t say it, but this is a nice looking piston:
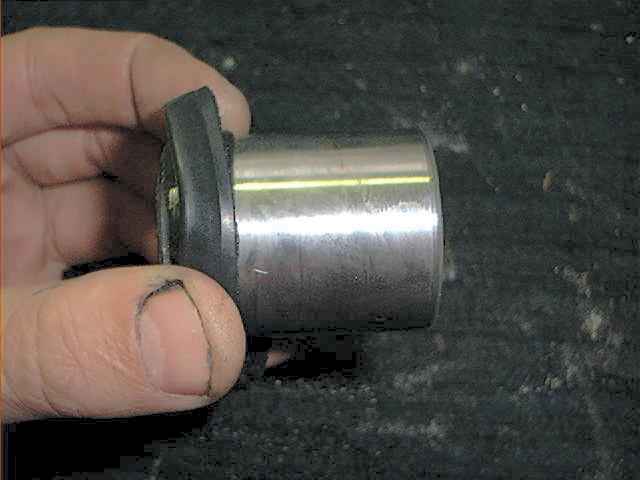
Clean the piston with brake cleaner or fresh brake fluid. Check the surface of the piston thoroughly. This is a chrome-plated surface and should be perfectly smooth:
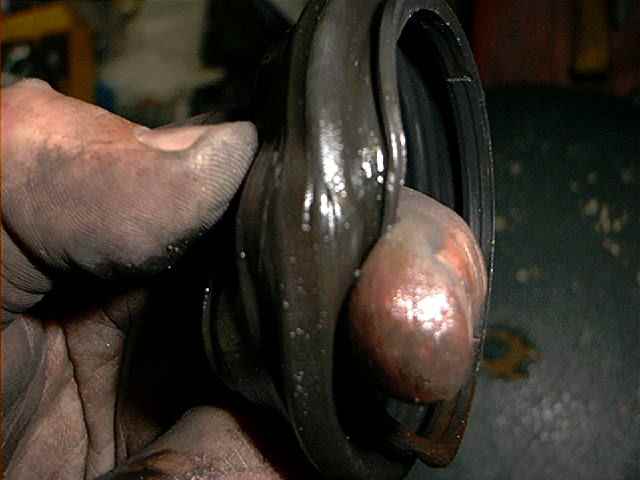
The two previous pictures show the nice shiny piston of the rear caliper. I got lucky, but in my case, luck never lasts long. When rebuilding my front calipers, I saw that the dust seal of the front piston was damaged (this usually means BIG problems), i.e. had some small cracks:
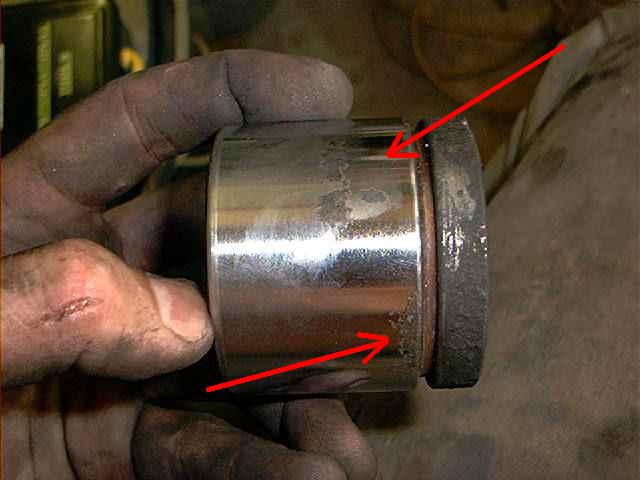
If this is the case, you must inspect the surface of the piston very thoroughly. In most cases, you’ll find several corroded spots on the piston like I did. This is the damage done by the aggressive brake dust, water and debris (piston already cleaned a bit):
Now we have a big problem. Why? Because you can’t purchase the caliper pistons separately. Don’t believe me? Ask your dealer.
You are left with 4 options:
– Find a salvaged 7 and hope it has some calipers in good condition.
– Make new pistons yourself (lathe required).
– Bite the bullet and buy yourself some new calipers (dealer price: about 600 Euro/US dollar each).
– Try to rebuild the old piston by sanding the surface slightly, (quick fix but won’t last long).
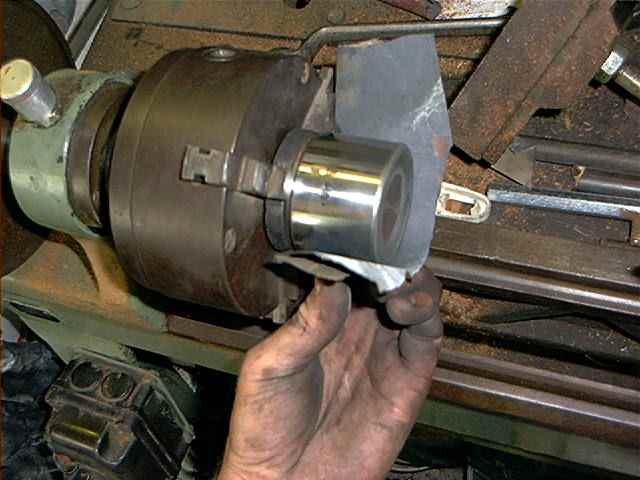
I choose the last option, thoroughly cleaning the surfacing, scraping the rust away with a screwdriver and polishing the surface afterwards with some 800 grid sandpaper on my lathe:
I warn you about this procedure: although you have new dust seals, the piston will corrode again on the same spots and will cause similar caliper problems later on (sticky calipers).
But it will do for about 1~ 1.5 year, if you are lucky. I decided to use this procedure to give me some time to purchase some good used calipers on the internet.
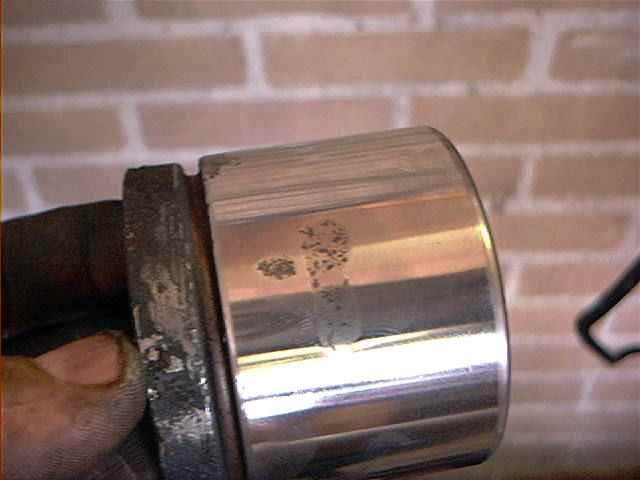
After cleaning the surface looked like this:
You can see that the chrome-plated surface is damaged, and some rust couldn’t be removed:
I couldn’t get it any better, the piston was too damaged. During re-assembly, I used a lot of caliper grease to protect it, and packed the dust seal full with caliper grease, hoping it will hold long enough.
It’s up to you to make the same decision, facing this problem.
Later on, I rebuilt other calipers and in lots of cases the pistons were severely damaged.
This is another piston, with a slight corroded part. Because the corroded part doesn’t affect the part of the piston beneath the inner O-ring, it can be reused.
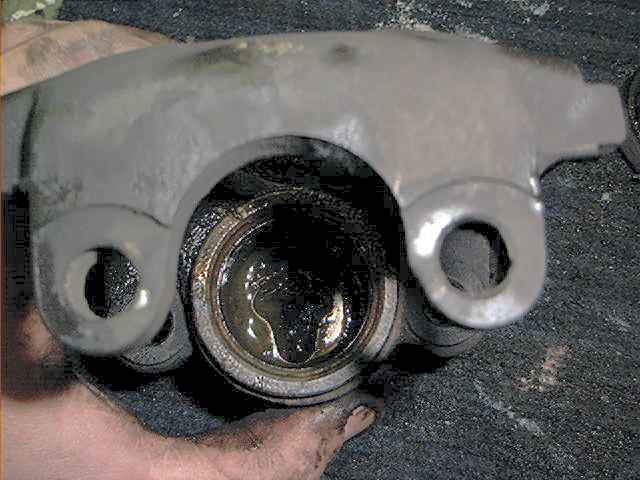
Okay, so give me a brake right? Enough about the piston. Time to check the inside of the brake caliper:
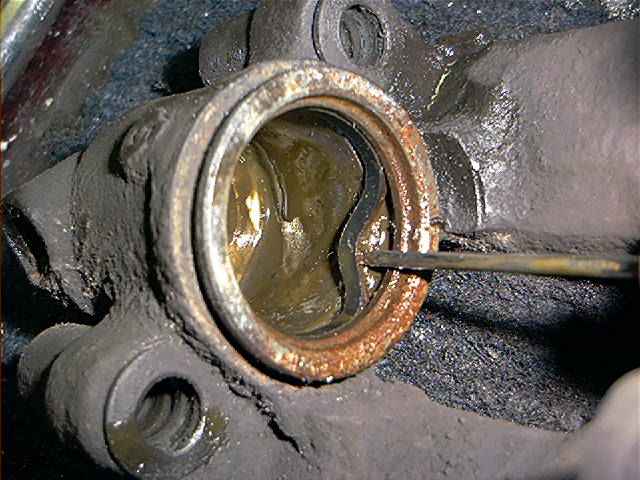
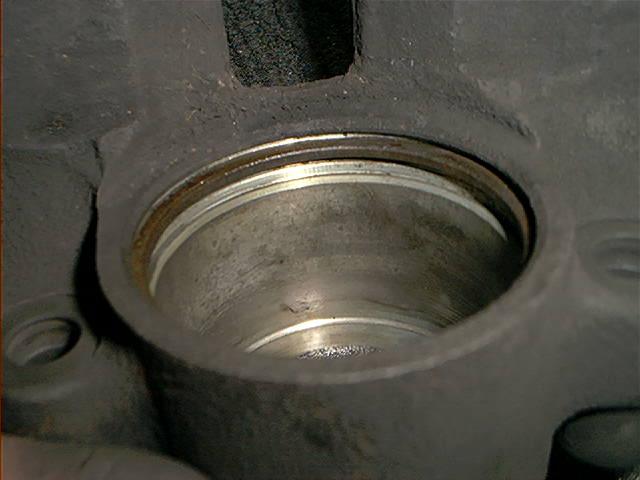
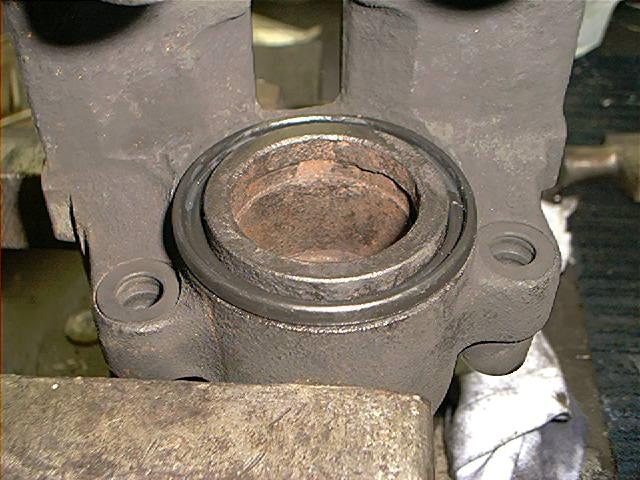
Mucky mess…folks, if your calipers look the same you aren’t maintaining your 7 very well….pry the inner O ring out:
I should change the brake fluid more frequently…..you won’t be surprised if I say that everything must be thoroughly cleaned, also the grooves inside the caliper.
If you don’t have brake cleaner, use brake fluid.
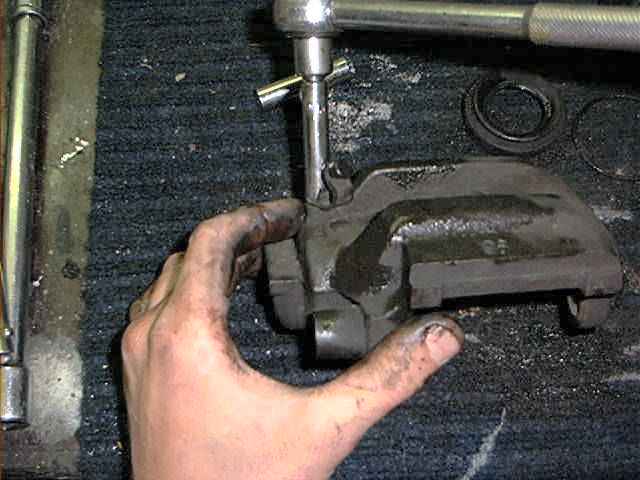
Remove the bleeder screw. This is a stupidly tiny 7mm bleeder screw (Why are car manufacturers always so cheap on bleeder screws???):
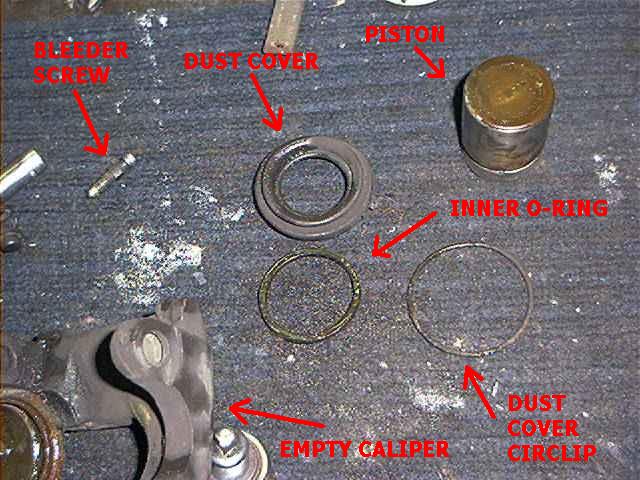
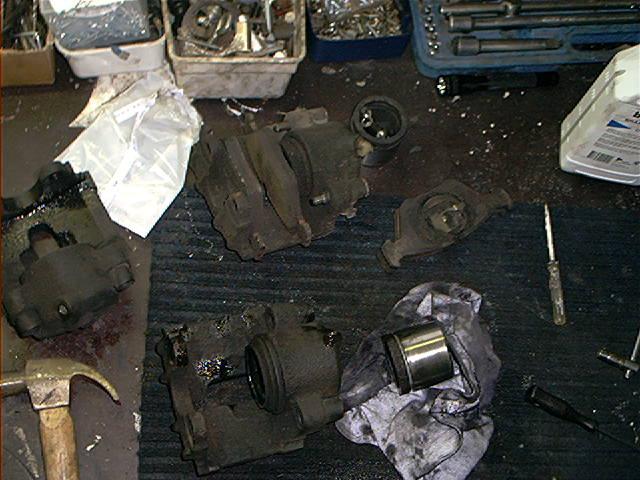
After everything removed, you should be having something like this on your workbench:
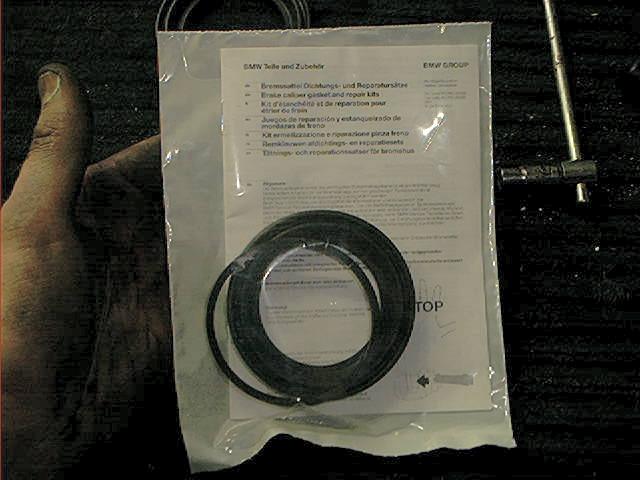
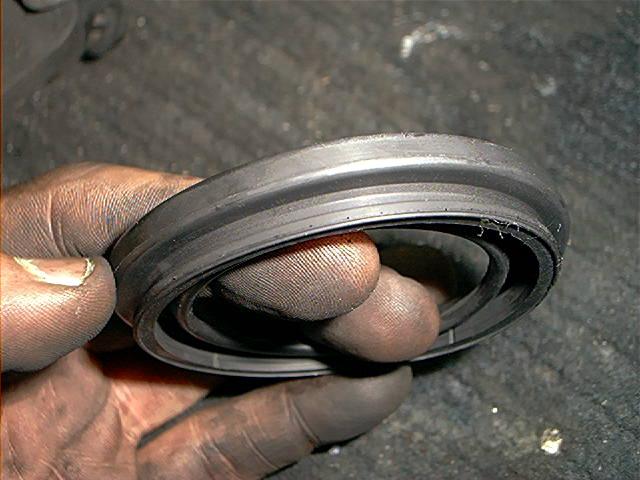
This picture shows a front caliper rebuild kit, it comes with a new inner O-ring and dust cover:
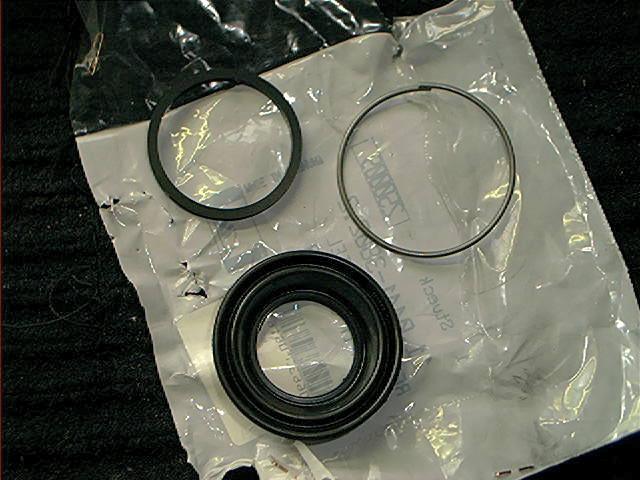
The pictures below show a rebuild kit for the rear calipers, it comes with an additional new circlip.
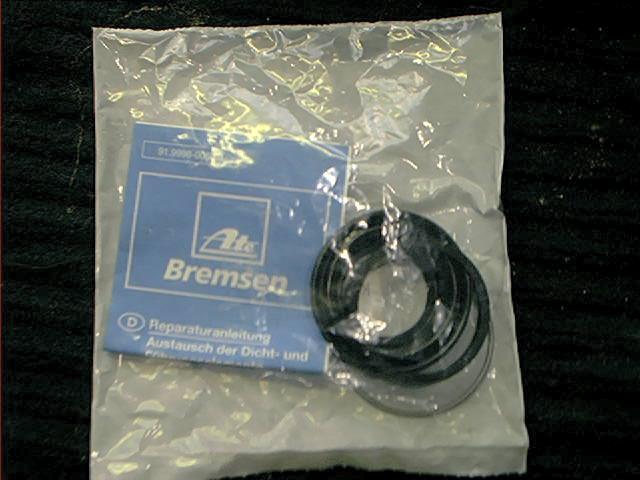
Because the BMW dealer didn’t have them in stock, I purchased them at the local parts dealer.
If you ask me, these kits are identical to the one from BMW, and I always make sure they are from ATE (the manufacturer of the brakes):
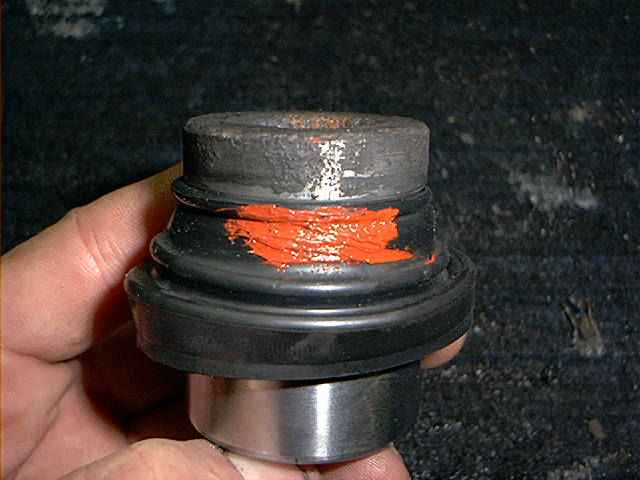
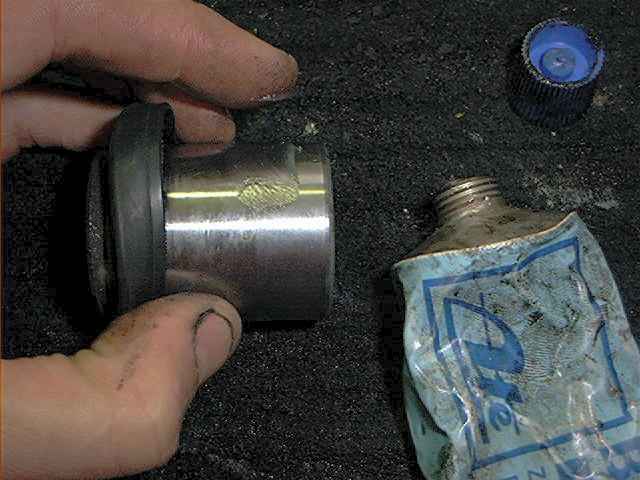
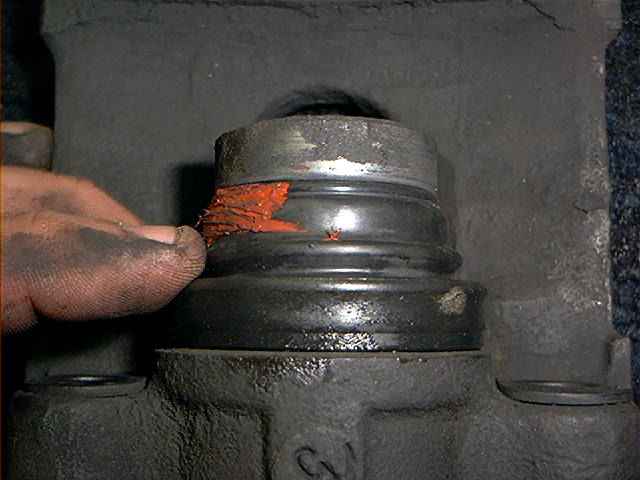
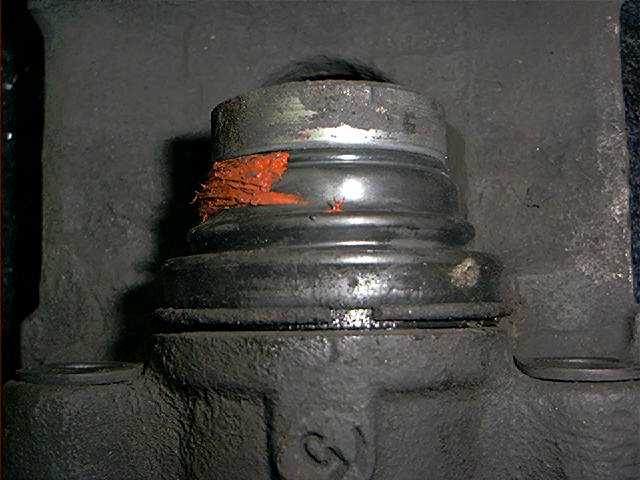
When installing, I managed to do a very stupid thing with a screwdriver and I damaged the new dust boot….$#@!*&^*!.
From that point, I wasn’t in a very good mood because the parts seller was already closed. So I fixed the dust cover with some sealant:
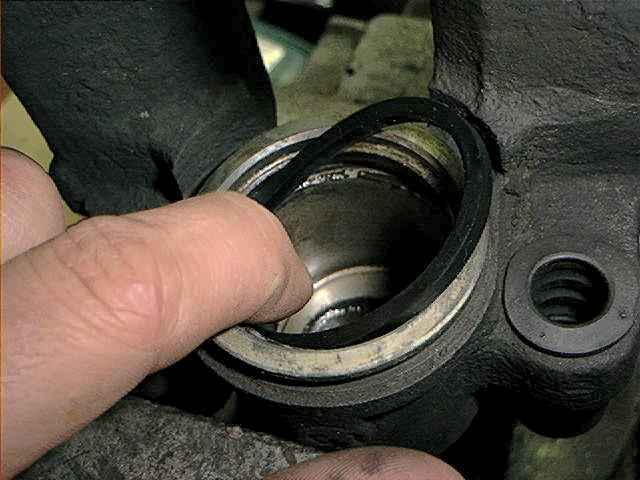
Sigh….ok, lets forget about it and proceed. Press the new O-ring into the inner lip of the caliper:
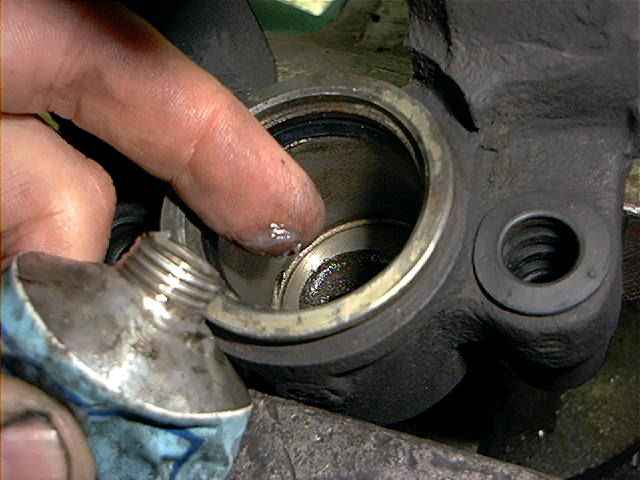
To make the inserting of the piston easier, coat the O-ring with some special caliper grease or use brake fluid:
Same with the piston, lubricate the surface with a light coat of grease:
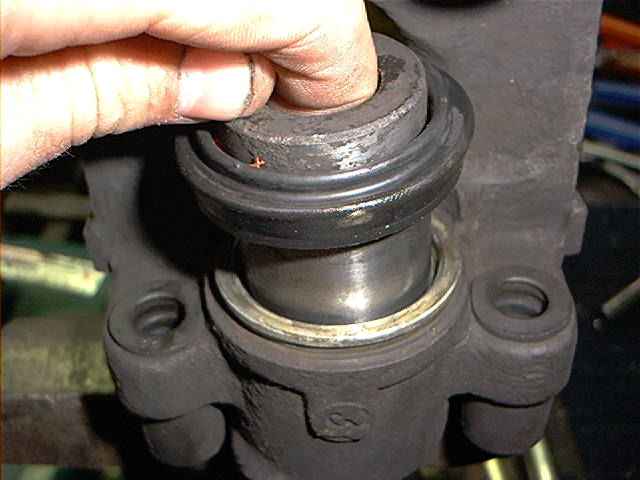
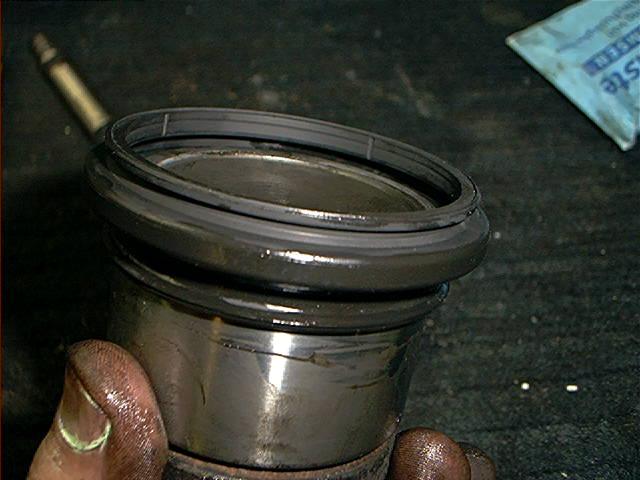
As you can see, the new dust seal is already installed onto the piston. Now gently press the piston straight into the caliper. You can do this easily by hand, using some force:
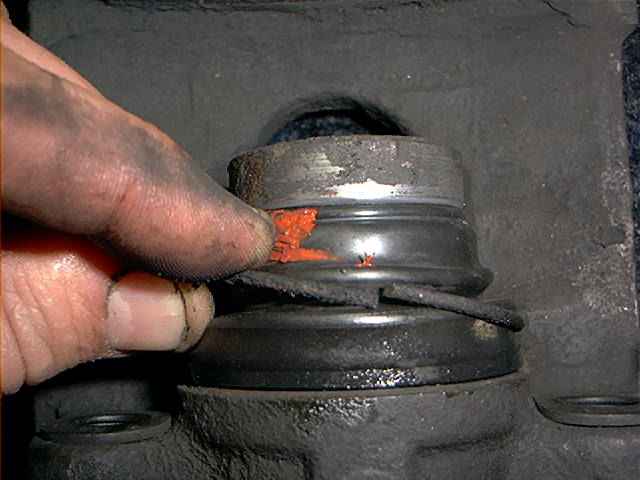
Don’t press the piston all the way in. Install the dust cover:
Next up . . . install the circlip:
This is how it should look like (errr…without the sealant of course):
Reattach the brake line, install the bleeder screw, insert the brake pads and install the caliper on the rotor.
Use some caliper grease on the guide bolts to protect the surface. Don’t forget to tighten the brake hose and reinstall spring clip. Bleed the caliper manually (with some assistance), vacuum or use pressure.
Keep an eye at the brake fluid level reservoir while doing this. 1 ready, 3 to go ; ) Perhaps its a good idea to change the brake fluid now.
Added this part 13 November 2004:
The pictures above only describing the dust cover installation with an outer circlip on an outer ridge.
Only the rear calipers have this kind of dust cover installation. The front calipers have another design, with an inner ridge.
This makes it harder to fit the dust cover. Some use compressed air to install such a dust cover, but there is a different method, which I now describe.
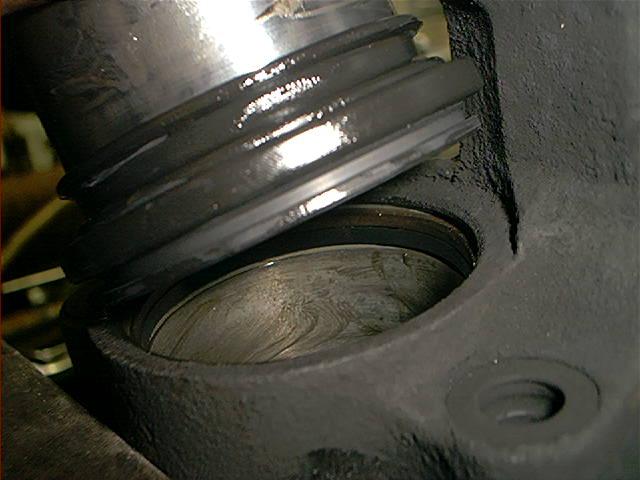
This is the inner ridge of the caliper, without the inner O-ring. The dust cover is installed in the upper ridge:
The new dust cover:
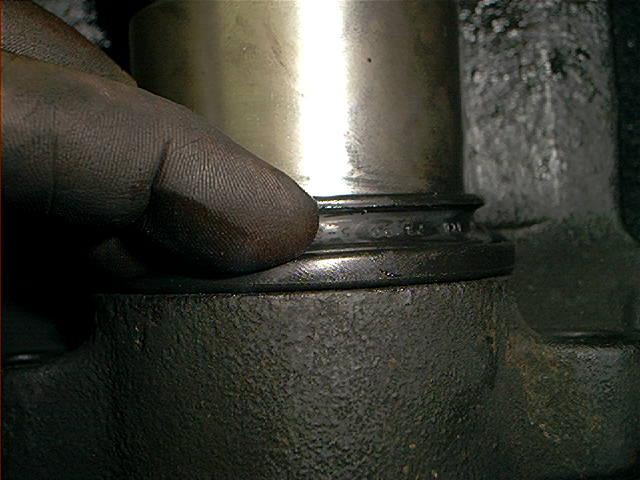
After installing the inner O-ring, put the dust cover on the bottom end of the piston like this (notice it isn’t fully slid onto the piston, just the upper part of the dust cover):
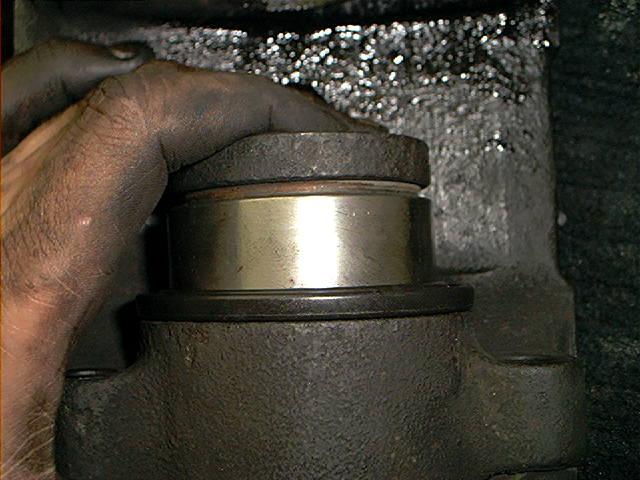
Now gently put the piston and dust cover into the caliper, make sure the dust cover is seated all around.
Important: don’t push the piston into the caliper yet!
Make sure the piston is seated perfectly square in the caliper. Don’t side load the piston or you could score the sidewall.
Only when the dust cover is fully seated, press the piston into the caliper:
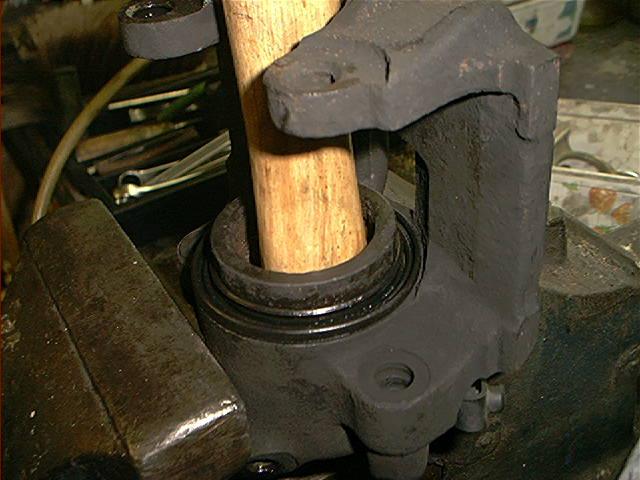
It should be pressed in by hand. If you have a hard time doing that, use a wooden dowel:
And the dust cover pops into place:
Total amount of parts and cost:
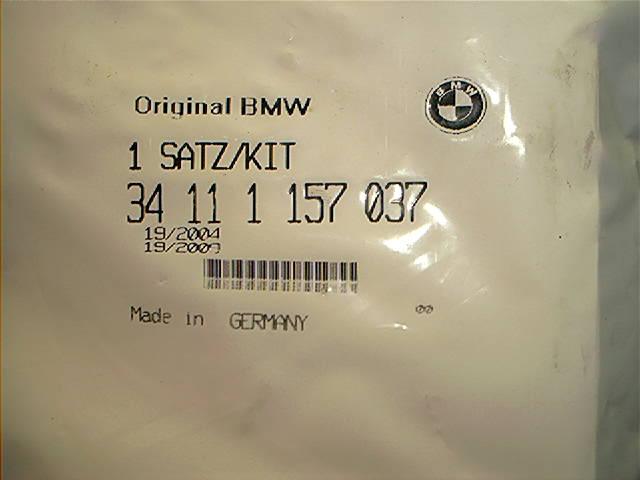
BMW Part Number – 34111157037
Description – Caliper rebuild kit
Price (1 piece) – 11 Euro/US Dollar
Used Amount – Varies
Total amount of time:
Two calipers done in 2.5 hours, including the sealant fix.
Skills needed/difficulty level:
It can be done. This picture shows the rebuilding of various calipers with different parts:
Some things I should have done but I overlooked, forgot, or was just being too lazy (or didn’t replace because I am cheap) and now I am regretting that while everything is reinstalled already and I drove it for a few thousand kilometers/miles?
Of course. Nice to know that the rear brake pads must be replaced within 15,000 kilometers…..but not now.
It was freezing cold in my garage and I desperately needed some coffee. . . .

